
Learn how to optimize video for web with proven strategies to improve compression, hosting, and load times. Boost site speed and engagement efficiently.
Optimizing your video for the web is about more than just shrinking a file.It's a delicate balance of compressing your footage, picking the right format (usually MP4), and finding a hosting platform that won’t let you down. Nail this, and your video will load in a flash without looking like a pixelated mess-a win for your audience and your SEO.
Why Web Video Optimization Is Not Just a 'Nice-to-Have'
Let's be blunt: a clunky, unoptimized video is a performance killer. Think of it as the digital equivalent of a lead weight in a backpack-it slows everything down, frustrates users, and ultimately torpedoes your goals. We've all been there. You click a link, full of hope, only to be met with the dreaded spinning buffer wheel. What do you do? You leave.
That single frustrating moment can wreck your site's Core Web Vitals, sending a clear signal to Google that your page delivers a poor user experience. The domino effect is predictable: your bounce rate climbs, your brand looks amateurish, and your search rankings take a nosedive. The goal here isn't just to get a video onto a webpage; it's to make sure it performs flawlessly for every single person who clicks play.
The Business Case for Flawless Video Performance
Learning how to optimize video for web isn't just a box-ticking exercise for your developers; it's a fundamental business strategy. When a video loads instantly and plays without a single stutter, it has a direct and measurable impact on your bottom line.
A few key business outcomes you can expect:
- Deeper Engagement: Fast-loading videos keep people on your page longer. More watch time means your message has a better chance to resonate.
- Higher Conversion Rates: That smooth product demo or heartfelt testimonial can be the final nudge a customer needs to click "buy."
- Stronger Brand Trust: A professional, high-performing website signals that you value your audience's time and attention, which builds incredible credibility.
The sheer dominance of online video makes this a non-negotiable. Projections show that by 2025, video will account for an astounding 82% of all internet traffic. If you want to dig deeper, exploring these video marketing statistics really drives home the scale of this trend.
If your video doesn’t load, the message it contains might as well not exist. Every second a visitor spends waiting is a second they could be on a competitor’s site instead.
What This Guide Will Cover
To get that top-tier performance, you need a solid game plan that covers the entire video lifecycle, from the first edit to the final click. This guide lays out a clear path with actionable steps for each stage.
Before we dive in, here’s a quick overview of the core areas we'll be tackling to ensure your videos are lightning-fast and effective.
Key Elements of Web Video Optimization
| Optimization Pillar | Primary Goal | Key Action |
|---|---|---|
| Video Compression | Reduce file size while preserving quality | Choose the right codec (like H.264) and bitrate settings. |
| Hosting & Delivery | Ensure fast, reliable playback for all users | Select a dedicated video host with a Content Delivery Network (CDN). |
| Embedding & Loading | Minimize initial page load impact | Implement lazy loading and use lightweight thumbnail previews. |
| Accessibility & SEO | Make videos discoverable and usable by everyone | Add transcripts, captions, and a video sitemap. |
Each of these pillars is a critical piece of the puzzle. Getting them right means your videos will not only look great but will also contribute positively to your site's overall health and business goals.
Making Sense of Video Compression for the Web
Getting into the weeds of video compression can feel a little overwhelming at first, with all its technical jargon. But if you want your videos to perform beautifully online, you need to get a handle on the basics: codecs, containers, and bitrates. Think of this as the essential prep work before your video's big premiere on your website.
The mission is straightforward: shrink your video file down as much as you can without it looking like a pixelated mess from the 90s. This is how you guarantee it loads in a snap for every visitor, even those on slower connections. After all, if someone has to wait more than a few seconds for a video to start, they're probably already gone.
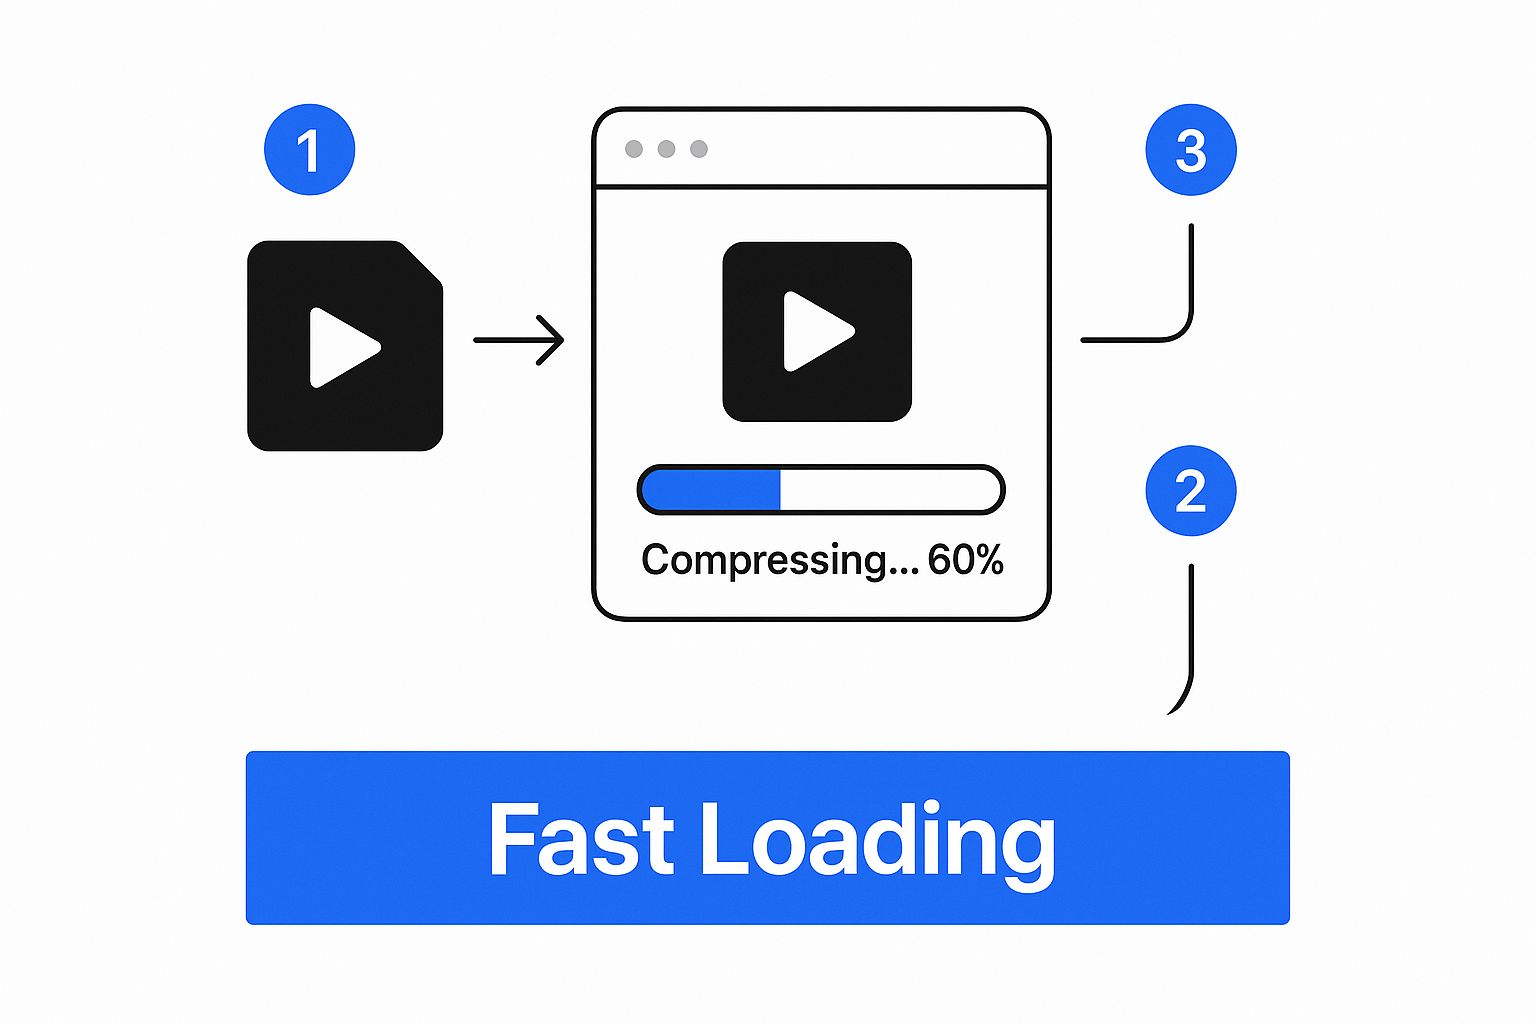
As you can see, smart compression is the bridge between a massive source file and a lightweight web video, which ultimately leads to a much better user experience.
The Building Blocks: Codecs and Containers
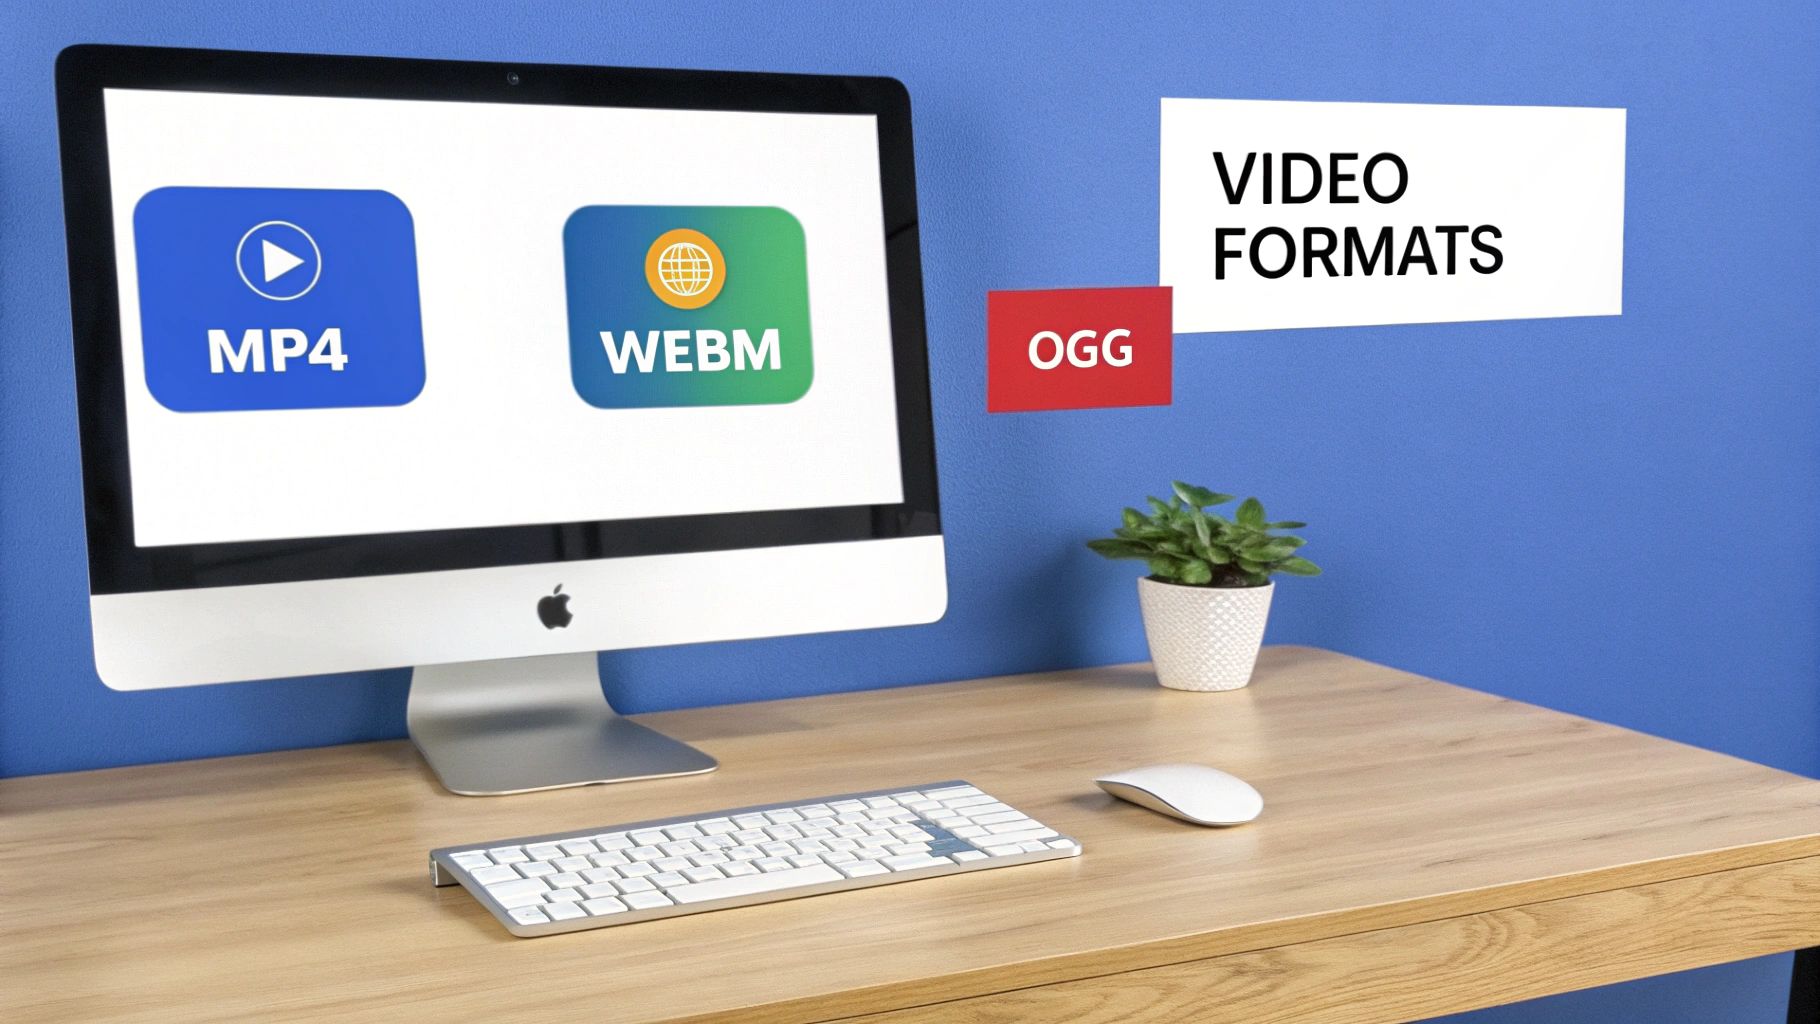
Let's start with the two core components you'll encounter. The container is just the file type you see, like an .MP4 or a .WebM file. Its job is to hold everything together-the video, the audio, and any other metadata. For maximum compatibility across every browser and device out there, you can't go wrong with .MP4. It's the universal standard.
Tucked inside that container is the codec (which is short for coder-decoder). This is the real engine, the algorithm that does the heavy lifting of compressing and decompressing the video data. The most common one you'll see is H.264 (AVC). It's the industry workhorse for a reason, offering a fantastic balance between video quality and file size.
Looking ahead, AV1 is the new kid on the block, and it's incredibly efficient. It can deliver the same visual quality as H.264 but with a file size that's up to 30% smaller. The trade-off? It requires more processing power to create and isn't supported by older browsers just yet. A great strategy is to offer an AV1 video to modern browsers and have an H.264 version ready as a fallback.
My Two Cents: Always, always start with the highest quality source file you have. You can compress a big, beautiful file down, but you can never magically add detail back into a video that was poorly compressed from the start.
Finding the Bitrate Sweet Spot
This is where you have the most direct control over the trade-off between quality and file size. Bitrate is simply the amount of data used to create one second of video, and it's measured in megabits per second (Mbps).
A higher bitrate means more data, which translates to better quality and a bigger file. A lower bitrate gives you a smaller file but can introduce blocky "artifacts" if you get too aggressive.
There’s no magic number here. The right bitrate depends entirely on your video's resolution and how you plan to use it.
Here are a few real-world examples to guide you:
- Full-Screen Hero Video (1080p): I'd aim for a bitrate between 2-5 Mbps. This keeps the video looking crisp and professional even on a large screen.
- Small Embedded Product Video (720p): You can easily drop this down to 1-2.5 Mbps. Since the video will be displayed at a smaller size, the lower bitrate won't be noticeable.
- Muted Background Loop (1080p): For purely decorative videos that play on a loop, you can push the compression harder. A bitrate of 1-2 Mbps often works perfectly, as the simple motion and lack of audio help hide any imperfections.
You don't have to guess, either. Fantastic free tools like HandBrake have built-in presets that give you a great starting point. From there, you can tweak the settings to find that perfect balance for your specific video.
Choosing Your Video Hosting and Delivery Strategy
So, you've compressed your video down to a manageable size. Great! But now comes a decision that will make or break your viewers' experience: where will this video live online?
This isn't just about storage. The choice you make here dictates how quickly and reliably your video loads for every single visitor, no matter where they are in the world. You’re essentially looking at two paths: hosting the video on your own server or using a professional, third-party hosting platform.
At first glance, doing it yourself seems like the smart move. You get complete control, and hey, no extra monthly bills, right? It's a tempting thought, but this path is often riddled with hidden costs and technical traps that can wreck both your user experience and your budget.
The Hidden Dangers of Self-Hosting
Hosting a video on your server is a totally different ballgame than hosting a few images. Video files are enormous. Every time a visitor hits "play," your server has to shovel a massive amount of data through the pipes, which consumes a ton of bandwidth.
Imagine your video goes viral overnight. That sounds amazing until your web host sends you a shocking bill for massive bandwidth overages. It happens more than you'd think.
Even if you can stomach the potential cost, the performance hit is a killer. Your web server is probably sitting in a data center in one city. If a viewer from Tokyo tries to watch a video hosted in Ohio, they’re in for a world of buffering and slow load times. It’s just not a reliable way to serve a global audience.
The real deal-breaker with self-hosting, though, is the lack of adaptive bitrate streaming. This is the magic that automatically adjusts the video quality based on a viewer's internet connection. Without it, you’re stuck sending the same huge, high-quality file to everyone-a disaster for anyone on a mobile device or a shaky Wi-Fi connection.
Why a Third-Party Host Is Usually the Right Move
This is where dedicated video hosting platforms like Vimeo, Wistia, or even YouTube come in. They are purpose-built to deliver video flawlessly and at a massive scale. When you upload your file to one of these services, you're tapping into a sophisticated infrastructure designed for one thing: delivering video.
Here's what they take off your plate:
- Global Content Delivery Network (CDN): They have servers strategically placed all over the globe. When someone watches your video, the content is delivered from the server closest to them. The result? Lightning-fast load times for everyone.
- Adaptive Streaming: This is all handled for you, automatically. The platform transcodes your video into multiple quality levels and intelligently serves the best possible version to each user without any buffering.
- A Simple Workflow: They just give you a simple embed code. You copy, you paste, and it just works-across all browsers and devices. No more troubleshooting player compatibility issues.
Matching the Platform to Your Goals
Picking the right host isn't just about grabbing the first one you see. You need to align the platform's features with your specific business goals. While YouTube is free and gets a ton of traffic, its primary goal is to keep people on YouTube. For business, you need more control and better data.
Let's look at a few real-world scenarios:
- You need to know exactly how people are watching: A platform like Wistia is your best bet. It offers incredible analytics, including heatmaps that show which parts of your video people re-watched, skipped, or stopped watching. It's an invaluable tool for understanding engagement.
- You need to control access and branding: Vimeo shines here. It gives you powerful privacy controls, password protection, and the ability to customize the video player to perfectly match your website's branding.
- You want to turn viewers into participants: An interactive platform like VideoQi lets you embed clickable calls-to-action, quizzes, and even branching choices directly inside the video player. This turns a passive viewing experience into an active one.
By investing a little time and money into the right hosting strategy, you guarantee that all your hard work in creating and optimizing your video pays off. You'll protect your site's performance and give your video the best possible chance to achieve its goals.
Smarter Ways to Embed and Load Your Videos
You've done the hard work of compressing your video. Now for the final, crucial challenge: getting it onto your page without wrecking your load time. How you embed and load your video has a massive impact on site performance, especially your Core Web Vitals. An improperly embedded video can single-handedly tank your speed scores.
The key is to load your video resources intelligently. Instead of forcing every visitor’s browser to download a heavy video player the moment they land on your page, you can push that process back. This is the core principle of lazy loading, and it's a non-negotiable for modern web performance.
Embrace Lazy Loading for Instant Speed Wins
Lazy loading is a game-changer. It’s a simple instruction that tells the browser to hold off on loading the video-and its entire player-until the visitor actually scrolls down and it's about to appear on screen. This one change can dramatically slash your initial page weight and improve key metrics like Largest Contentful Paint (LCP).
Instead of a bulky video player, the browser initially loads a lightweight placeholder. Usually, this is just a custom thumbnail image. This makes the page feel instantly faster, which is critical for keeping visitors from bouncing.
Getting this set up is often easier than it sounds:
- For WordPress: Fantastic plugins like WP Rocket or LazyLoad for Videos can apply lazy loading to your video embeds with just a few clicks.
- For Custom Sites: You can use the
loading="lazy"attribute directly on your<iframe>tag. This is now a native browser feature and works beautifully across all modern browsers.
The goal is to stop making users pay a performance tax for content they might never see. Lazy loading ensures that performance cost is only paid when a visitor shows clear intent to watch.
Use a Lightweight Custom Thumbnail (The "Facade" Method)
A standard YouTube or Vimeo embed often loads a generic, sometimes blurry thumbnail. We can do better. A really clever strategy is to create a high-quality, custom thumbnail that’s designed to look like a video player. This is often called a "facade."
This facade is just a static image with a "play" icon slapped on top. It’s incredibly lightweight compared to a full video player. When a user clicks what they think is the play button, a tiny bit of JavaScript springs into action, replacing the image with the actual video iframe and starting playback.
This technique gives you the fastest possible initial load while still looking like a fully interactive video, encouraging those all-important clicks.
Fine-Tune Your Player Attributes
The attributes you use in your embed code are your direct control panel for the viewing experience. Using them thoughtfully is a huge part of optimizing video for the web. Don't just copy-paste the default embed code; take a moment to tailor it.
Here are the most important ones I use all the time:
| Attribute | What It Does | Best Practice |
|---|---|---|
autoplay |
Starts playing the video automatically. | Use with extreme caution. Most browsers block autoplay with sound anyway. If you absolutely must use it (like for a silent background hero video), always pair it with muted. Nobody likes unsolicited audio. |
controls |
Displays the player controls (play/pause, volume). | Almost always include this. Removing controls takes away the user's ability to manage their own experience, which is incredibly frustrating and bad for accessibility. |
loop |
Makes the video start over when it finishes. | Perfect for short, silent background videos. For regular content, it's better to let the video end. You can even get creative with end-screens. If you're curious about that, check out our guide on adding hyperlinks to YouTube videos. |
muted |
Silences the video by default. | This is essential for any video that autoplays. It’s a basic sign of respect for your visitor's environment. |
By combining lazy loading with these simple player settings, you can ensure your video truly enhances your page instead of dragging it down.
Make Your Videos Accessible and Search-Friendly

A perfectly compressed and encoded video is a great start, but it's only half the battle. If search engines can't figure out what your video is about, or if people with disabilities can't access it, you're leaving a ton of impact on the table.
The good news? Making your video accessible and optimizing it for search (SEO) go hand-in-hand. The steps you take to help users with impairments are the very same signals that tell search engines how to rank your content.
Give Everyone the Script with Transcripts and Captions
Think of your video as a locked box. For someone who is deaf or hard of hearing, that box is impossible to open. The same goes for a search engine crawler, which can't "watch" your video to understand its content. Transcripts and closed captions (CC) are the keys.
A transcript is simply a text version of everything said in your video. You can paste this right onto the page, usually below the video player. This gives search engines a goldmine of text to crawl, letting them understand every keyword and concept you cover.
Closed captions take it a step further by synchronizing that text with the video itself. This is a game-changer for people watching with the sound off (think open offices or public transit) and is absolutely essential for accessibility. Most professional video hosting platforms let you upload a caption file (typically an .SRT file) with just a few clicks.
A quick word of advice: don't just "set it and forget it" with auto-generated captions from platforms like YouTube. They're a decent first draft, but they are almost always full of mistakes. Spending a few minutes cleaning up the grammar and punctuation makes you look more professional and feeds search engines clean, accurate data to index.
Roll Out the Red Carpet for Search Engines with a Video Sitemap
While Google's crawlers are incredibly sophisticated, you can make their job a whole lot easier. A video sitemap is a special file you create to hand-deliver information about your videos directly to search engines. It's like giving them a VIP pass instead of making them wait in line.
This file explicitly tells crawlers where your videos are and what they're about, dramatically improving the chances they'll be indexed correctly and show up in search results.
For each video, your sitemap should include these key details:
<loc>: The URL of the page where the video lives.<video:title>: A compelling, keyword-rich title for your video.<video:description>: A detailed description (up to 2,048 characters) of what the video covers.<video:thumbnail_loc>: The direct link to your custom thumbnail image.<video:content_loc>: The URL of the actual video file (e.g., your .MP4 file).
There's a reason to put in this effort. Viewers retain a staggering 95% of a message from a video, compared to just 10% from text. Plus, including a video on a page can boost organic traffic by up to 157%. Providing a sitemap is how you ensure you're tapping into that potential.
By adding transcripts and creating a sitemap, you're not just hoping Google finds you-you're telling it exactly what your video is about and why it matters. The next step is to track your performance to see how these efforts pay off. For more on that, check out our deep dive on video marketing analytics.
Common Questions About Web Video Optimization
Even with a solid plan, you're bound to hit a few snags when you get into the nitty-gritty of optimizing video for the web. Let's walk through some of the most common questions that come up. Think of this as your go-to reference for making the right call when you're in the trenches.
What Is the Best Video Format for the Web?
For the widest possible reach, you absolutely can't go wrong with an MP4 container paired with the H.264 video codec and AAC audio. This combo is the undisputed champion of web video. It hits that perfect balance between great quality and a manageable file size, and it plays back on virtually every browser and device out there.
Now, if you're pushing for maximum efficiency, WebM with a VP9 or AV1 codec is your best bet. These can deliver the same visual punch at an even smaller file size. The catch? Browser support isn't universal yet. So, the smart play is to offer WebM as your primary choice but always have that trusty MP4 ready as a fallback for older browsers.
Should I Host Videos Myself or Use a Service?
I get this question a lot, and for nearly everyone, my answer is the same: use a dedicated video hosting service. Platforms like Vimeo, Wistia, or even YouTube are built for this. Trying to host videos on your own shared server is a recipe for slow-loading pages, unexpected bandwidth charges, and a poor user experience.
Professional hosting platforms handle all the heavy lifting you don't want to think about. They manage things like adaptive bitrate streaming and use global Content Delivery Networks (CDNs) to ensure your video loads quickly for viewers anywhere in the world. Plus, you get analytics that self-hosting just can't provide.
Will Compressing My Video Make It Look Bad?
Not if you do it right! Modern video codecs are incredibly sophisticated. They’re designed to shrink file sizes without creating a noticeable drop in quality. The goal isn't to squash your video into a pixelated mess. It's about finding that "sweet spot"-a significantly smaller file with almost no perceptible loss in sharpness.
Honestly, for most web applications, a properly compressed 1080p video will look fantastic to the vast majority of your audience on their typical screens.
How Does Lazy Loading Actually Help My Site Speed?
Lazy loading is one of my favorite performance hacks. It’s a simple but powerful technique that tells the browser not to load your video until the user actually scrolls it into view. This one change can have a massive impact on your initial page load time and dramatically improve core speed scores like Largest Contentful Paint (LCP).
Instead of making every single visitor download a heavy video player they might never even see, the browser loads a lightweight placeholder image first. This makes your page feel snappier and more responsive right away. For a deeper look into creating engaging instructional content, you can learn more about how to create video tutorials in our detailed guide.
Ready to turn passive viewers into active customers? VideoQi transforms your standard videos into interactive experiences with clickable CTAs, quizzes, and personalized paths that drive engagement and conversions. No coding required-just results. Discover what you can build with VideoQi.


