
Master how to create video tutorials that drive results. Discover proven strategies from successful creators to engage audiences and boost conversions.
Laying The Foundation: Strategic Tutorial Planning That Works

Creating compelling video tutorials requires careful planning. Just like a building needs blueprints, a successful tutorial needs a solid foundation. Without a clear vision, the final product might not be effective. In fact, 60% of a successful tutorial's creation should be dedicated to planning. This upfront work ensures a focused, engaging, and effective tutorial. For a comprehensive guide on creating tutorial videos, check out this helpful resource: How to Create Tutorial Videos.
Understanding Your Audience and Validating Your Ideas
The first planning step is understanding your target audience. What are their needs and pain points? What knowledge are they seeking? Answering these questions helps pinpoint relevant tutorial topics that attract viewers.
For example, when teaching software, consider your audience's skill level. Are they beginners, intermediate users, or advanced professionals? Knowing this informs the tutorial's complexity and pacing.
Once you have potential topics, validate them. Don't create a tutorial no one wants. Online searches, keyword research, and surveys can gauge audience interest and ensure you're investing your time wisely. This helps refine your focus and address specific needs.
Structuring Your Tutorial Series for Continued Engagement
When planning a tutorial series, consider the overall structure. How will each video build on the last? Think of it like a curriculum, where each lesson contributes to the learning objective. A logical progression keeps viewers engaged and coming back for more. This might involve starting with basics and gradually progressing to advanced techniques.
A content calendar helps maintain consistency and manage expectations. Be realistic, though. It's better to start small and gradually increase your output than to set unrealistic goals and burn out. For example, begin with one video per week and increase to two or three as you become more efficient.
Balancing Depth and Attention Spans
Providing in-depth information is important, but balance it with viewers' attention spans. Most online viewers prefer shorter, concise content. Break down complex topics into digestible segments, like chapters in a book. This makes information easier to absorb and prevents viewers from feeling overwhelmed.
The importance of video content is undeniable. Video is projected to represent 60.1% of average daily social media time by 2025. This highlights the power of video in engaging audiences. For more detailed statistics, see Video Content Statistics. This reinforces the need for well-planned and engaging video tutorials.
Equipment That Actually Matters: Smart Tool Selection
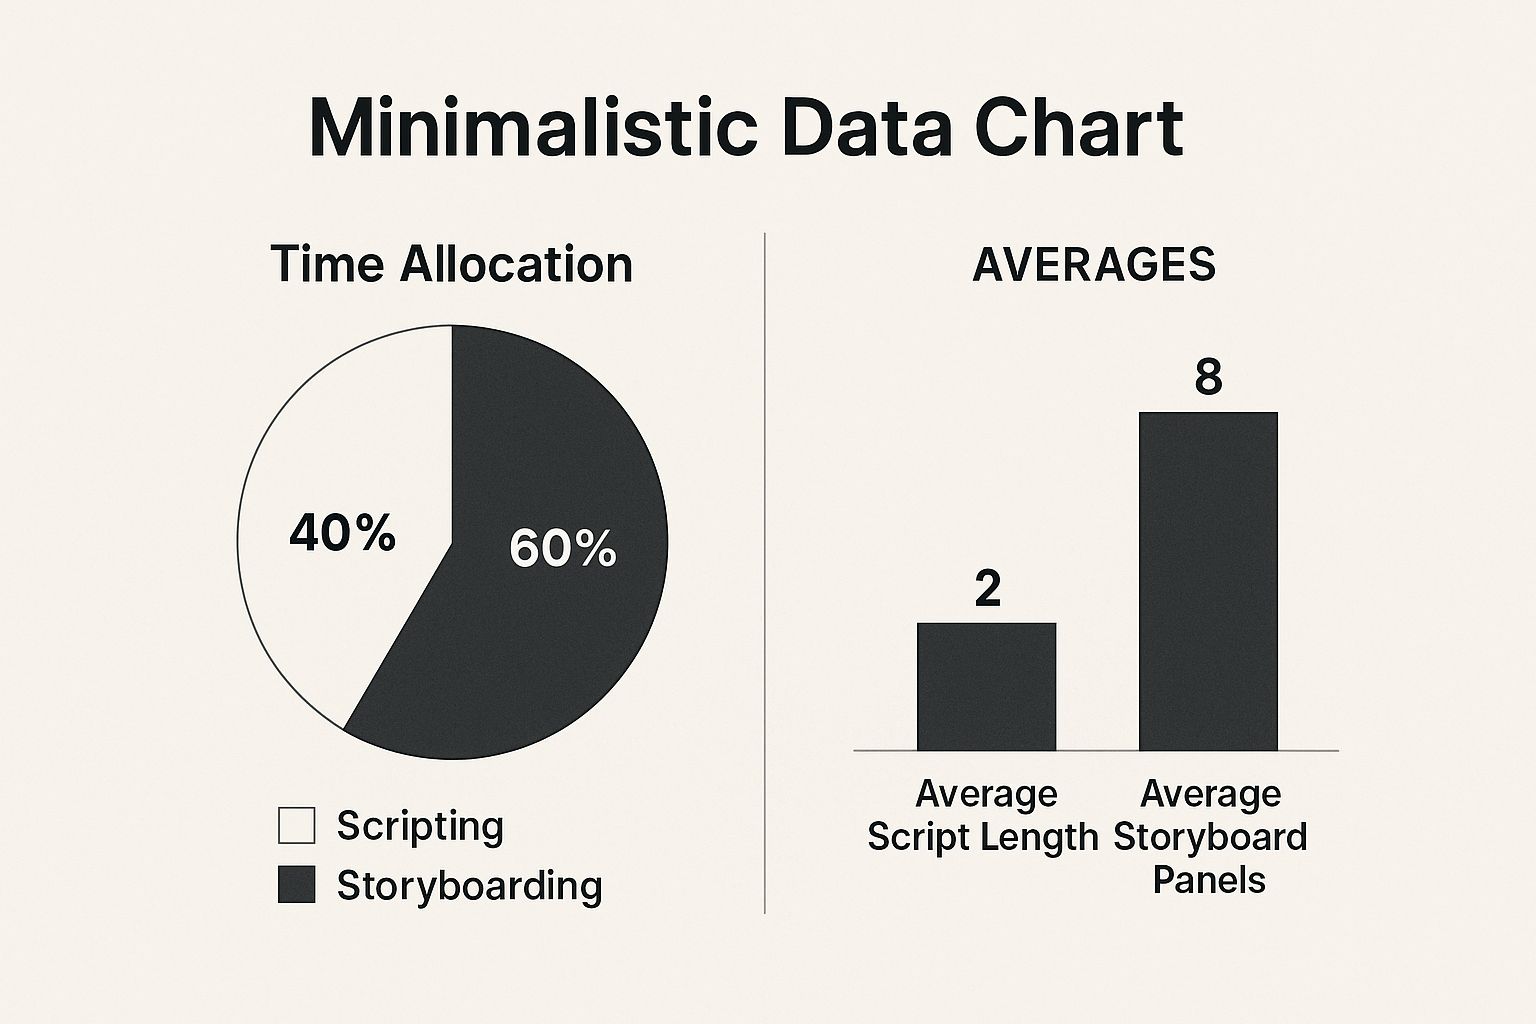
The infographic above illustrates the time investment and output of the scripting and storyboarding phases in video tutorial creation. Scripting typically takes 40% of pre-production time, resulting in an average of two script pages. Storyboarding, however, requires 60% of the time for an average of eight storyboard panels. This highlights the significance of visual planning for effective tutorial creation.
A well-structured storyboard ensures a smoother recording process and a more engaging final video.
Now, let's explore the essential equipment needed to produce high-quality video tutorials without overspending. Creating effective tutorials isn't about having the priciest equipment; it's about making smart investments in tools that directly enhance the viewer's experience.
Essential Audio and Video Equipment
High-quality audio is paramount for a positive viewing experience. A clear voiceover ensures viewers can easily grasp your instructions, even with a budget-friendly microphone.
-
Microphone: A dedicated microphone, even a simple USB microphone, dramatically improves audio quality compared to your computer's built-in microphone. Consider upgrading to a lavalier or condenser microphone as your channel expands.
-
Camera: While a professional camera can be advantageous, a decent webcam or even your smartphone camera is often sufficient to begin. Prioritize good lighting and clear framing over high pixel counts.
-
Lighting: Proper lighting dramatically enhances video quality. A simple setup using two softbox lights, or even carefully positioned desk lamps, makes a substantial difference.
To help illustrate the different equipment choices available, the following table provides a comparison across various budget levels.
A quick look at the table below, "Video Tutorial Equipment Comparison", outlines some of the key equipment options and their features across different price points and quality levels. This should help illustrate the smart upgrades you can make as your needs and budget grow.
| Equipment Type | Budget Option | Mid-Range Option | Professional Option | Key Features |
|---|---|---|---|---|
| Microphone | USB Microphone | Lavalier Microphone | Condenser Microphone | Noise cancellation, adjustable gain, frequency response |
| Camera | Webcam | DSLR Camera | Mirrorless Camera | Video resolution, frame rate, autofocus |
| Lighting | Desk Lamps | Softbox Lights | LED Panel Lights | Color temperature, brightness control, diffusion |
As you can see, there are many options available depending on your specific needs and budget. Starting with budget-friendly options and upgrading strategically is a great way to maximize your resources.
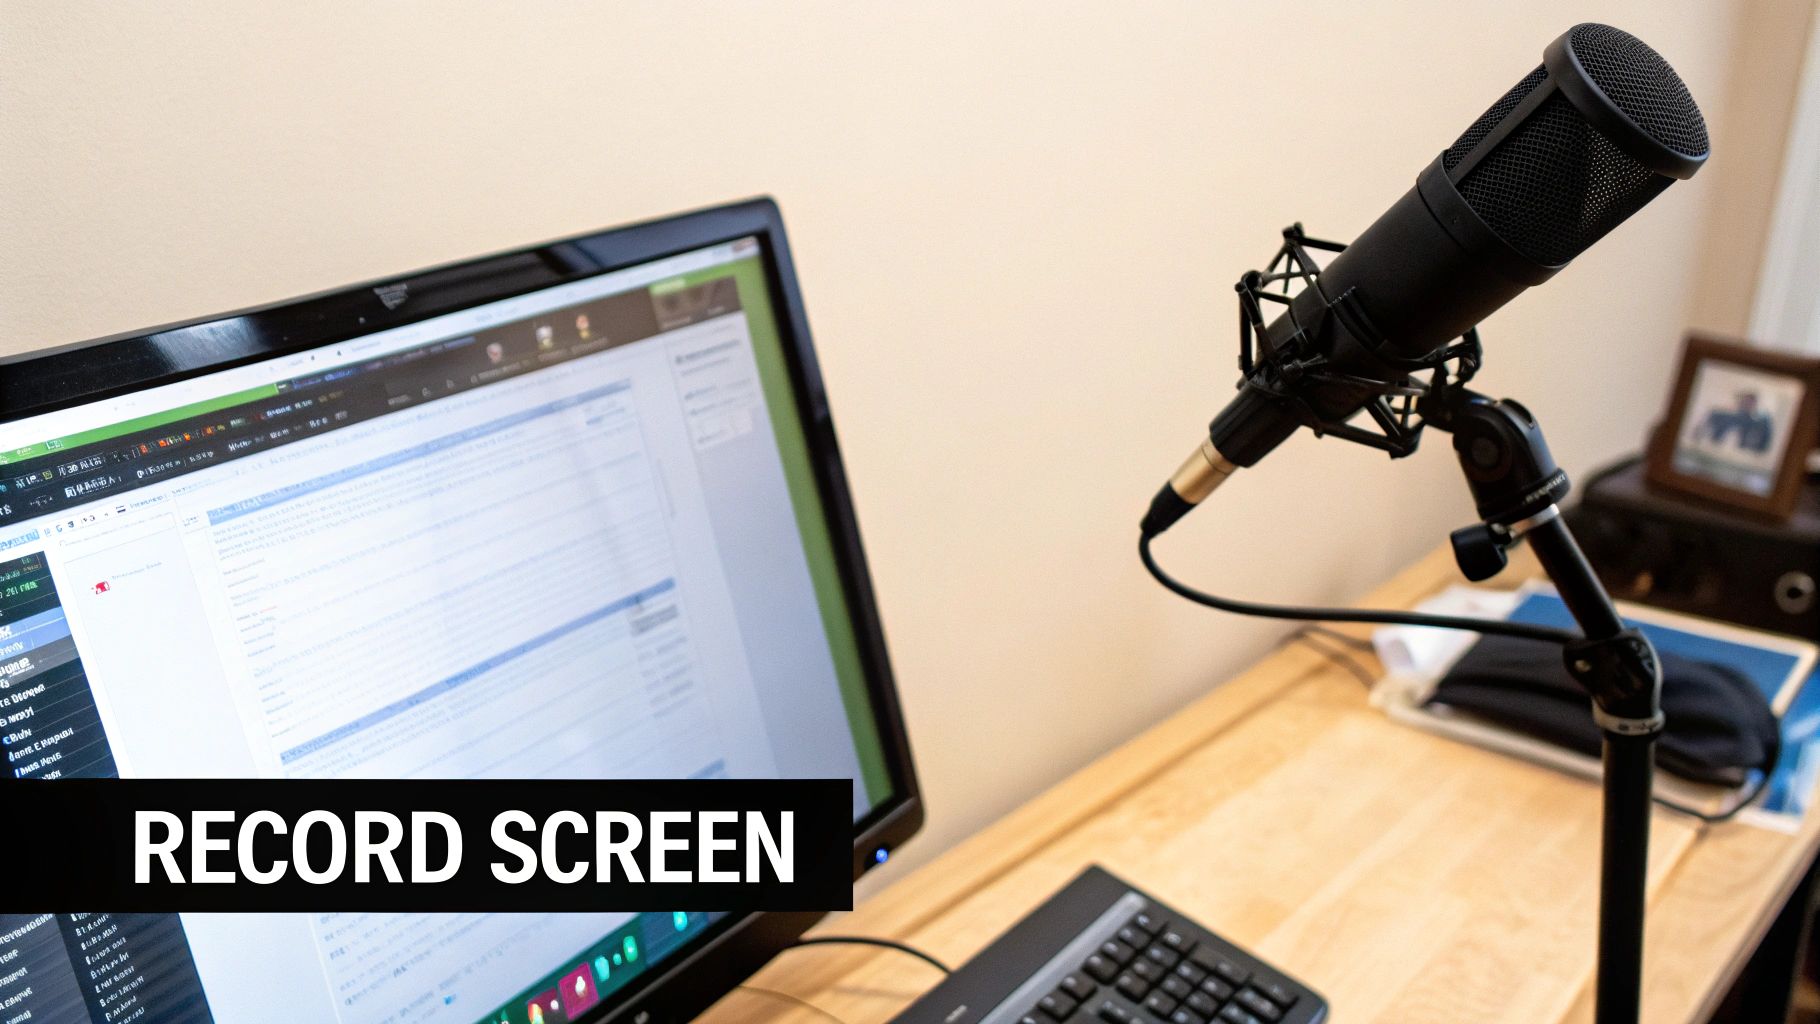
Screen Recording and Editing Software
Screen recording and video editing software are fundamental tools for creating effective on-screen tutorials. Your choice of software significantly influences both your workflow and the final product.
-
Screen Recorder: Select screen recording software with features such as customizable recording areas, webcam overlays, and integrated audio recording. Options range from free tools like OBS Studio to paid software like Camtasia.
-
Video Editor: A user-friendly video editor is essential for tasks like trimming footage, adding transitions, and incorporating text and graphics. DaVinci Resolve offers powerful features, even in its free version.
Cost-Benefit Analysis and Smart Upgrades
A budget-friendly setup is perfectly adequate for beginners. Prioritize a good microphone and basic lighting over expensive cameras or professional editing software initially. As your channel grows and resources increase, upgrading to more sophisticated equipment enhances production quality.
For those looking to take their tutorials further, consider adding interactive elements. Check out our guide on How to Create Interactive Videos to boost engagement and transform passive viewers into active learners. Another valuable resource for enhancing engagement is How to master…. This guide offers valuable insights into creating dynamic and captivating content.
Creating high-quality video tutorials is ultimately about clear communication and engaging content, not expensive equipment. By focusing on tools that directly impact the viewer's experience, you can produce effective tutorials that resonate with your audience, regardless of your budget.
Scripts And Structure: Building Tutorials People Finish
Viewers often abandon tutorials within the first few seconds. This highlights the importance of immediately capturing their attention and presenting information effectively. This section explores creating video tutorials that maintain viewer engagement from beginning to end. This involves understanding how to hook viewers, structure the content logically, and employ scripting techniques that promote clarity and enjoyment.
Crafting a Captivating Introduction
The opening seconds of your video are critical. Begin by directly addressing the viewer's pain point. Clearly articulate the problem your tutorial solves. For instance, instead of a general introduction to photo editing, start with a question like, "Are you struggling to remove unwanted objects from your photos?" This immediately connects with viewers seeking that specific solution.
After hooking your audience, briefly outline the tutorial's content. This roadmap sets clear expectations, showcasing the value viewers will gain and encouraging them to keep watching.
Structuring Your Content Logically
Similar to blog posts and articles, divide your tutorial into digestible sections. This simplifies complex processes, making them easier to follow. Consider these sections as individual learning modules, each building on the previous one. Use clear transitions, visual cues like chapter markers, or verbal cues like, "Now that we've covered the basics, let's move on to more advanced techniques." This helps guide the viewer through the tutorial.
Scripting for Natural Engagement
While a script is vital for organization and clarity, avoid sounding robotic. Write in a conversational style, as if speaking directly to a friend. This enhances engagement and relatability.
Use clear, concise language, avoiding jargon that the target audience may not understand. Explain any necessary technical terms clearly. Incorporate practical examples and analogies to clarify complex concepts, making the information more accessible and easier to remember.
Different Tutorial Formats and Handling Complex Topics
Consider various tutorial formats. Quick fix tutorials address specific problems concisely, while comprehensive courses provide in-depth exploration. Choose the format that best suits the content and target audience.
When presenting complex topics, break them down into smaller, manageable steps. Avoid overwhelming viewers with too much information at once. This gradual approach improves learning and keeps viewers engaged. Offer supplementary resources like downloadable cheat sheets or links to relevant articles for those who want to learn more. For example, link a related blog post in the video description to provide added value and drive traffic to your website.
Recording Techniques That Keep Viewers Glued To The Screen
Creating compelling video tutorials goes beyond simply having the right equipment. It involves mastering the art of recording itself. This section explores techniques that elevate professional tutorials above amateur screen captures, helping you produce polished, engaging content that truly connects with your audience.
Camera Positioning and Framing
Effective camera positioning is key to viewer understanding and engagement. Careful framing ensures your face is clearly visible, if on-screen, while avoiding a cramped look. For tutorials involving physical demonstrations, adjust the camera angle for the clearest view. This might involve a top-down perspective for crafts or an eye-level view for software demonstrations.
This visual clarity minimizes distractions, keeping viewers focused on your instruction. For example, a slightly angled top-down shot is ideal for painting tutorials, clearly showcasing brushstrokes and canvas details.
Audio Recording Best Practices
High-quality audio is paramount for viewer engagement. Minimize background noise by choosing a quiet recording environment. A dedicated microphone, even a budget-friendly option, significantly improves clarity compared to built-in computer microphones. Consider using a pop filter to eliminate plosives – those harsh popping sounds produced when pronouncing certain letters.
Clear audio enhances comprehension and reduces viewer frustration. Investing in decent audio equipment ensures your message is delivered effectively.
Screen Capture Techniques
When recording your screen, highlight essential elements without overwhelming your audience. Use the zoom and highlighting features of your screen recording software (OBS Studio, for example) to draw attention to key details, avoiding unnecessary clutter. This targeted approach prevents cognitive overload and maintains focus on the crucial steps.
This is particularly important for software tutorials. Clearly highlighting menus, buttons, or specific screen areas helps viewers accurately follow instructions.
Energy Management and Mistake Handling
Maintaining energy during long recordings can be challenging. Taking short breaks, staying hydrated, and varying your tone of voice prevents monotony and keeps viewers engaged. Don't panic if you make a mistake. Addressing minor errors gracefully shows professionalism. You can quickly correct the mistake and move on, or even acknowledge it with humor, adding authenticity to your presentation.
Combining Footage Types Seamlessly
Many effective tutorials combine various footage types: screen recordings, webcam footage, and sometimes B-roll. Smooth transitions between these elements are essential for a cohesive viewing experience. Video editing software (DaVinci Resolve, for instance) offers robust transition options for a polished look. Experiment with styles, but prioritize clarity and avoid jarring effects.
This creates a natural flow and prevents viewer disorientation. For example, a smooth transition from a webcam introduction to a software demonstration enhances professionalism and engagement. Seamlessly integrating different footage types elevates the viewing experience, making the tutorial more accessible and enjoyable.
Creating video tutorials has its technical challenges, but the medium's potential is substantial. 90% of marketers report a positive return on investment (ROI) from video marketing, encompassing metrics like engagement, sales, and brand awareness. Find more detailed statistics here. This underscores the importance of investing time and effort in producing high-quality video tutorials. Prioritizing clear audio, focused visuals, and an engaging presentation creates content that resonates with your audience and delivers results.
Editing Magic: Post-Production That Elevates Your Content
Editing transforms good video tutorials into captivating learning experiences. It goes beyond basic cuts and transitions; it's about enhancing learning and engagement. This section explores post-production techniques to elevate your content without needing advanced skills.
Pacing and Engagement: The Rhythm of Learning
Effective pacing is key for viewer attention. Think of your tutorial's pace like a song's rhythm. Vary the pace to match the information's complexity. Slow down during critical steps, using zoom and clear explanations. Speed up during simpler segments.
This dynamic approach prevents monotony and keeps viewers engaged. Like a song with highs and lows, a well-paced tutorial uses speed variations to highlight key information and maintain interest.
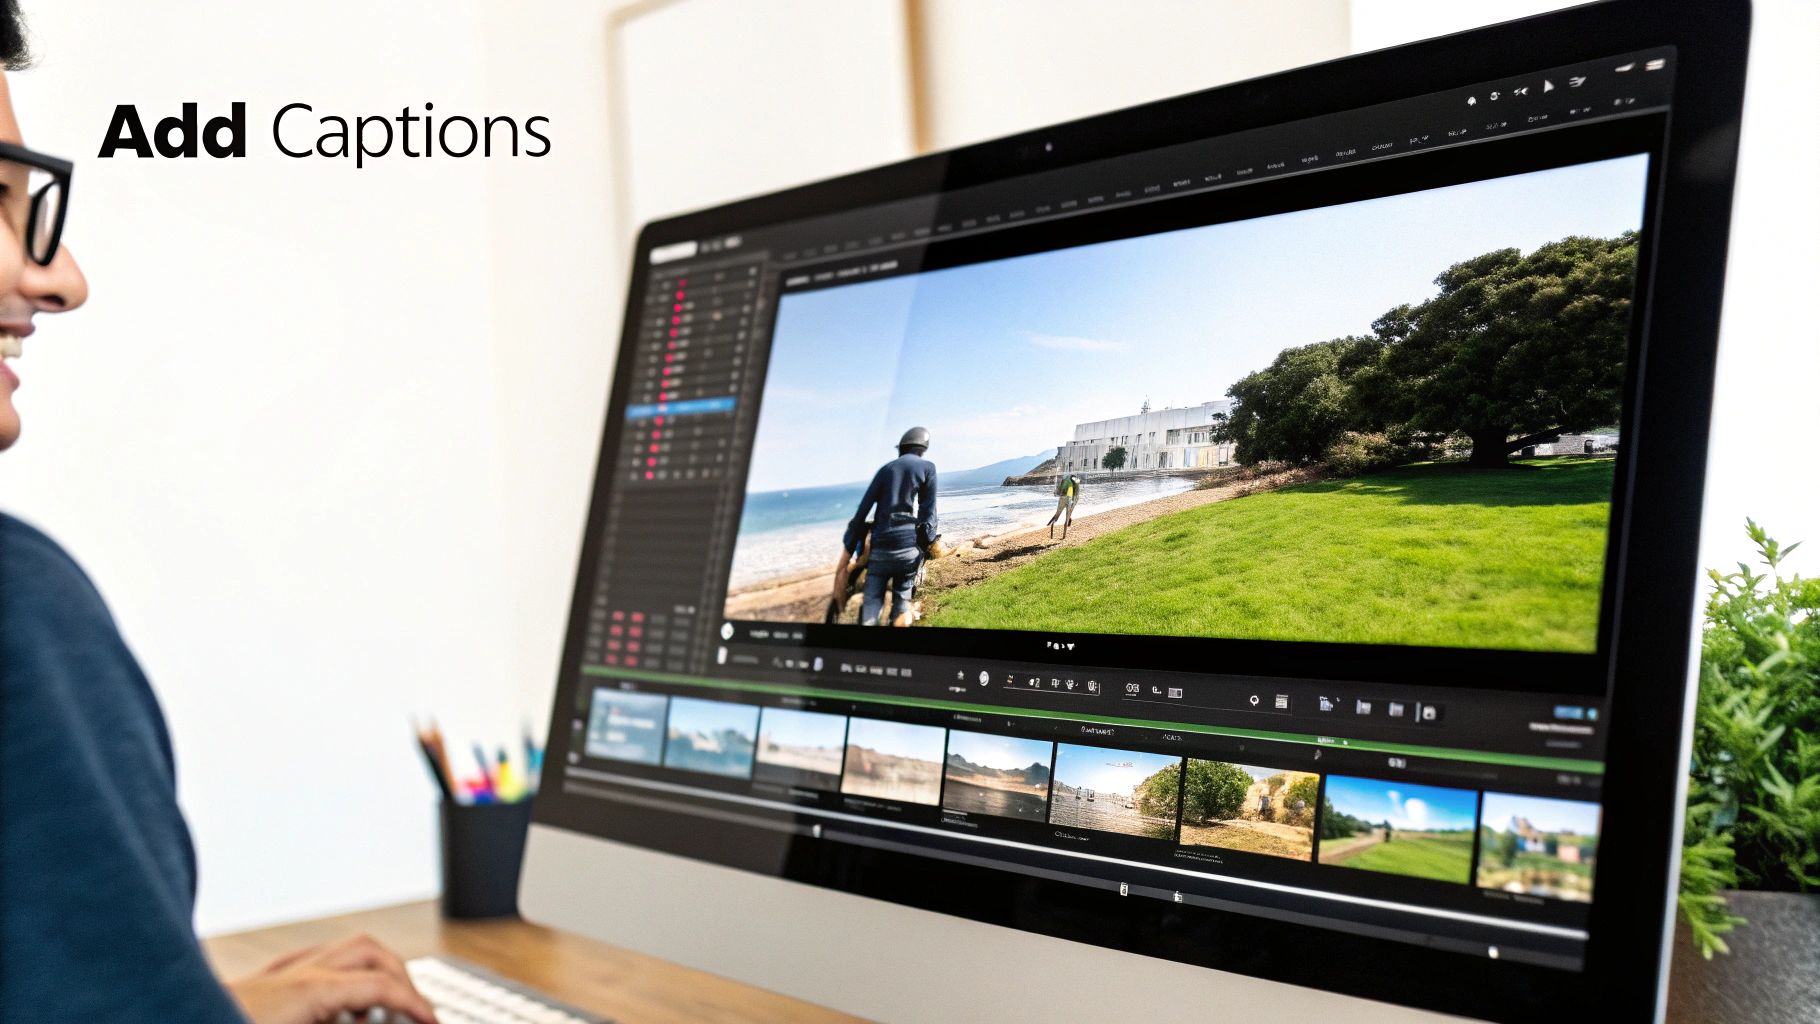
Graphics and Annotations: Supporting, Not Distracting
Graphics and annotations clarify concepts and reinforce learning. However, overuse can distract. Use them strategically to highlight key points, not as decoration. Simple arrows, text overlays, and diagrams can significantly improve understanding, especially in software tutorials.
Annotations should support, not overshadow, your narration. Think of them as visual aids that enhance learning, not the main attraction. Overly flashy graphics or excessive animations can distract viewers from the core message.
Audio Enhancement: Professional Polish
Clear, high-quality audio is essential for a professional feel. Recording in a quiet environment with a good microphone is important. Post-production audio editing further refines the sound. Use audio editing software like Audacity to reduce background noise, adjust volume, and ensure consistent quality.
This professional touch significantly impacts viewer experience. Even small adjustments eliminate distractions and make your voiceover more appealing. Removing background hum or adjusting audio levels for clarity enhances professionalism.
Time-Saving Workflows and Color Correction
Efficient workflows are crucial for timely content creation. Learn keyboard shortcuts in your editing software (Adobe Premiere Pro, Final Cut Pro, DaVinci Resolve) to streamline tasks like cutting, pasting, and adding transitions. This significantly reduces editing time, especially for lengthy tutorials.
Color correction enhances visual appeal across devices. Adjusting brightness, contrast, and saturation improves video quality, even with basic editing tools. Color correction ensures your tutorial looks its best on different screens. This consistency enhances professionalism and viewer experience. Learn more in this article about How to Master Interactive Video Hotspots. This can boost engagement and transform passive viewers into active learners.
Export Settings and Quality Control
Optimizing export settings for different platforms maximizes reach. Understand recommended resolutions, file formats, and bitrates for platforms like YouTube, Vimeo, and social media. Consistent quality builds trust and professionalism.
Develop a checklist for audio levels, video resolution, and branding elements to maintain quality as your production scales. This ensures your tutorial looks great, regardless of viewing platform. Consistent branding and visual quality enhance your channel’s identity. For a more engaging experience, consider: How to Master Interactive Video Hotspots. Effective editing transforms tutorials into captivating learning resources, educating, entertaining, and leaving a lasting impression.
Getting Your Tutorials Discovered: Strategic Publishing And Promotion
Creating amazing video tutorials is only half the battle. The other half? Making sure your audience actually finds them. This section explores strategic publishing and promotion techniques successful creators use to maximize reach without dedicating all their time to marketing. This involves focusing on platform-specific strategies, understanding your audience, and optimizing content for discoverability.
Optimizing For Youtube: Titles, Thumbnails, and Tags
YouTube is the premier platform for video tutorials. Optimizing your content for YouTube’s search algorithm is essential for discoverability. Start with a compelling title that accurately reflects the tutorial's content and includes relevant keywords related to video tutorial creation. Consider what your audience would search for. For example, instead of "Video Editing Tutorial," try "How to Edit Videos for Beginners: A Step-by-Step Guide."
A visually appealing thumbnail acts as a mini-advertisement for your video. It should be clear, high-quality, and accurately represent the tutorial's content. Include text overlays or visual cues that highlight the key takeaway. A before-and-after image can be incredibly effective.
Tags help YouTube understand your video's content. Use a mix of broad and specific keywords related to your tutorial's topic. For a video editing tutorial, you might use tags like "video editing," "how to edit videos," "beginner video editing," "video editing software," and "video editing tutorial."
Social Media Distribution: Engaging Your Audience
Social media platforms like Instagram, Facebook, and TikTok are powerful tools for promoting your video tutorials. Tailor your content to each platform’s format and audience. Short, engaging clips work well on TikTok, while longer previews suit Facebook or Instagram.
Engage with your audience by responding to comments and questions. Running polls or Q&A sessions about future tutorial topics keeps viewers involved and provides valuable insights into their needs. Collaborating with other creators in your niche can also expand your reach.
Website Integration and Content Repurposing
Integrating your video tutorials into your website extends your reach beyond social media. Embed tutorials on relevant blog posts or create dedicated tutorial pages to offer valuable resources to your website visitors. This can increase website traffic and boost engagement.
Consider How to Master Embedding Links in Video to enhance interactivity. Adding clickable links within the video can direct viewers to relevant products, services, or resources, increasing engagement and conversion rates.
Repurposing your video content into shorter clips, blog posts, or infographics extends its lifespan and caters to different learning preferences. A short clip highlighting a key tip can be shared on social media, while a blog post provides a more in-depth written explanation. This multi-format approach maximizes your content's value.
To help creators understand the nuances of different platforms, the following table provides a breakdown of optimal practices:
Introduction: This table outlines platform-specific best practices and requirements to maximize tutorial reach and engagement.
| Platform | Optimal Length | Key Optimization Factors | Audience Behavior | Success Metrics |
|---|---|---|---|---|
| YouTube | Varies, but generally under 10 minutes for tutorials | Compelling titles, eye-catching thumbnails, relevant tags, detailed descriptions | Seek in-depth information, step-by-step instructions | Views, watch time, comments, shares, subscriber growth |
| Short-form videos (Reels) under 60 seconds, longer videos (IGTV) up to 60 minutes | Visually appealing content, engaging captions, relevant hashtags, stories, live sessions | Discover content through hashtags and explore page, prefer visually driven content | Views, likes, comments, shares, saves | |
| TikTok | Short-form videos under 60 seconds | Trending sounds, creative editing, engaging visuals, hashtags | Discover content through the "For You" page, prefer short, entertaining content | Views, likes, comments, shares, sounds usage |
| Varies, but generally shorter videos perform better | Engaging captions, relevant hashtags, sharing in groups, Facebook Live | Discover content through their newsfeed and groups, prefer content shared by friends and family | Views, likes, comments, shares, reactions |
Conclusion: As shown in the table, each platform requires a unique approach. Tailoring your content and strategy is crucial for success.
Tracking Your Progress and Adapting Your Strategy
Tracking key metrics like views, watch time, engagement, and subscriber growth offers valuable insights into what's working and what's not. Focus on metrics that indicate genuine engagement and audience growth. High watch time, for example, suggests viewers find your tutorials valuable.
Don't be afraid to adapt your publishing and promotion strategies based on the data you gather. What works for one audience might not work for another. Continuously experimenting with different approaches ensures you’re maximizing your reach and connecting with your target audience effectively.
Key Takeaways
Creating effective video tutorials is a journey, from initial planning to post-production promotion. This section highlights key takeaways from each stage, offering a practical roadmap for tutorial success. These actionable steps, combined with realistic benchmarks and proven strategies, empower you to create engaging and impactful tutorials.
Planning and Pre-Production: Setting the Stage for Success
Knowing your audience is paramount. Understanding their needs, skill level, and learning preferences informs your topic selection, content depth, and presentation style. Beginners benefit from slower pacing and simpler explanations. Advanced learners might appreciate faster-paced tutorials with more complex details.
Validating your ideas before investing time in production is crucial. Keyword research and audience surveys ensure you're creating content people actually want, maximizing your impact.
Structure your tutorial into logical segments, like chapters in a book. This makes information easier to digest and keeps viewers engaged. Clear transitions and visual cues further enhance the learning experience.
Production: Capturing Quality Content
Audio quality is crucial. Invest in a decent microphone. Clear audio enhances viewer comprehension and engagement, regardless of your video quality.
Lighting elevates your video's visual appeal. Simple setups using softbox lights or even well-placed desk lamps can make a significant difference.
Maintain energy and enthusiasm throughout your recording. Speak conversationally, as if addressing a friend. This enhances relatability and keeps viewers engaged.
Post-Production: Refining Your Masterpiece
Pacing should match the complexity of the information. Slow down during critical steps and speed up during simpler segments, maintaining viewer engagement.
Use graphics and annotations strategically to enhance understanding. Simple arrows, text overlays, and diagrams can significantly improve clarity.
Edit your audio to remove background noise, adjust volume, and ensure consistent quality. This adds a professional touch and enhances the viewing experience.
Publishing and Promotion: Reaching Your Audience
Optimize your videos for YouTube search. Craft compelling titles, create eye-catching thumbnails, and use relevant tags. Understanding YouTube SEO is crucial.
Promote your tutorials on relevant social media platforms. Tailor your content to each platform’s format and audience.
Monitor key metrics like views, watch time, and engagement. Adapt your publishing and promotion strategies based on the data you gather to maximize reach and impact.
Realistic Expectations and Continuous Improvement
Creating successful video tutorials is an iterative process. Don't be discouraged if your first few videos don't get millions of views overnight. Focus on consistently creating high-quality content, engaging with your audience, and adapting your strategies based on feedback and performance data. Celebrate small wins and focus on continuous improvement. By implementing these key takeaways, you'll be well on your way to creating video tutorials that captivate and convert.
Want to transform your video tutorials into interactive learning experiences? VideoQi empowers you to add clickable hotspots, branching pathways, and personalized calls to action within your videos, boosting engagement and driving conversions.


