
Learn how to create training materials that engage your team. Discover practical strategies to plan, develop, and deliver effective training content.
If you want to create training materials that actually work, you can’t just jump in and start recording. After helping hundreds of companies build their training programs at VideoQi, I’ve found that the process breaks down into four key phases: strategize, design, produce, and distribute. Following this path helps ensure your content is well-thought-out, genuinely engaging, and ultimately effective.
Why modern training materials matter
Let’s be honest: the days of handing new hires a phonebook-sized binder and wishing them luck are over. Thank goodness. Creating high-quality, engaging training is a strategic investment that directly boosts your team’s performance, confidence, and your bottom line.
Today’s workforce expects learning to be accessible, on-demand, and directly applicable to what they’re doing right now. A 2024 LinkedIn Workplace Learning Report found that 94% of employees say they would stay at a company longer if it invested in their learning and development.
Great training values an employee’s time by delivering information in focused, digestible, and even enjoyable formats. That’s why a thoughtful, structured approach makes all the difference.
The four phases of training development
Before you even think about scripting or filming, you need to lay the groundwork. When I work with new VideoQi customers, I walk them through these four phases:
- Strategize: Define the “why” and “for whom” of the training. Your outcome is clear learning objectives and a detailed audience profile.
- Design: Map out the content and learning experience. You’ll create a complete script, storyboard, and structural outline.
- Produce: Create the actual training assets-video, audio, and interactive elements.
- Distribute: Deliver the training and measure its impact through engagement and performance data.
Starting with a solid strategy and clear design ensures the production and distribution phases are efficient and hit the mark.
Getting specific about your objectives
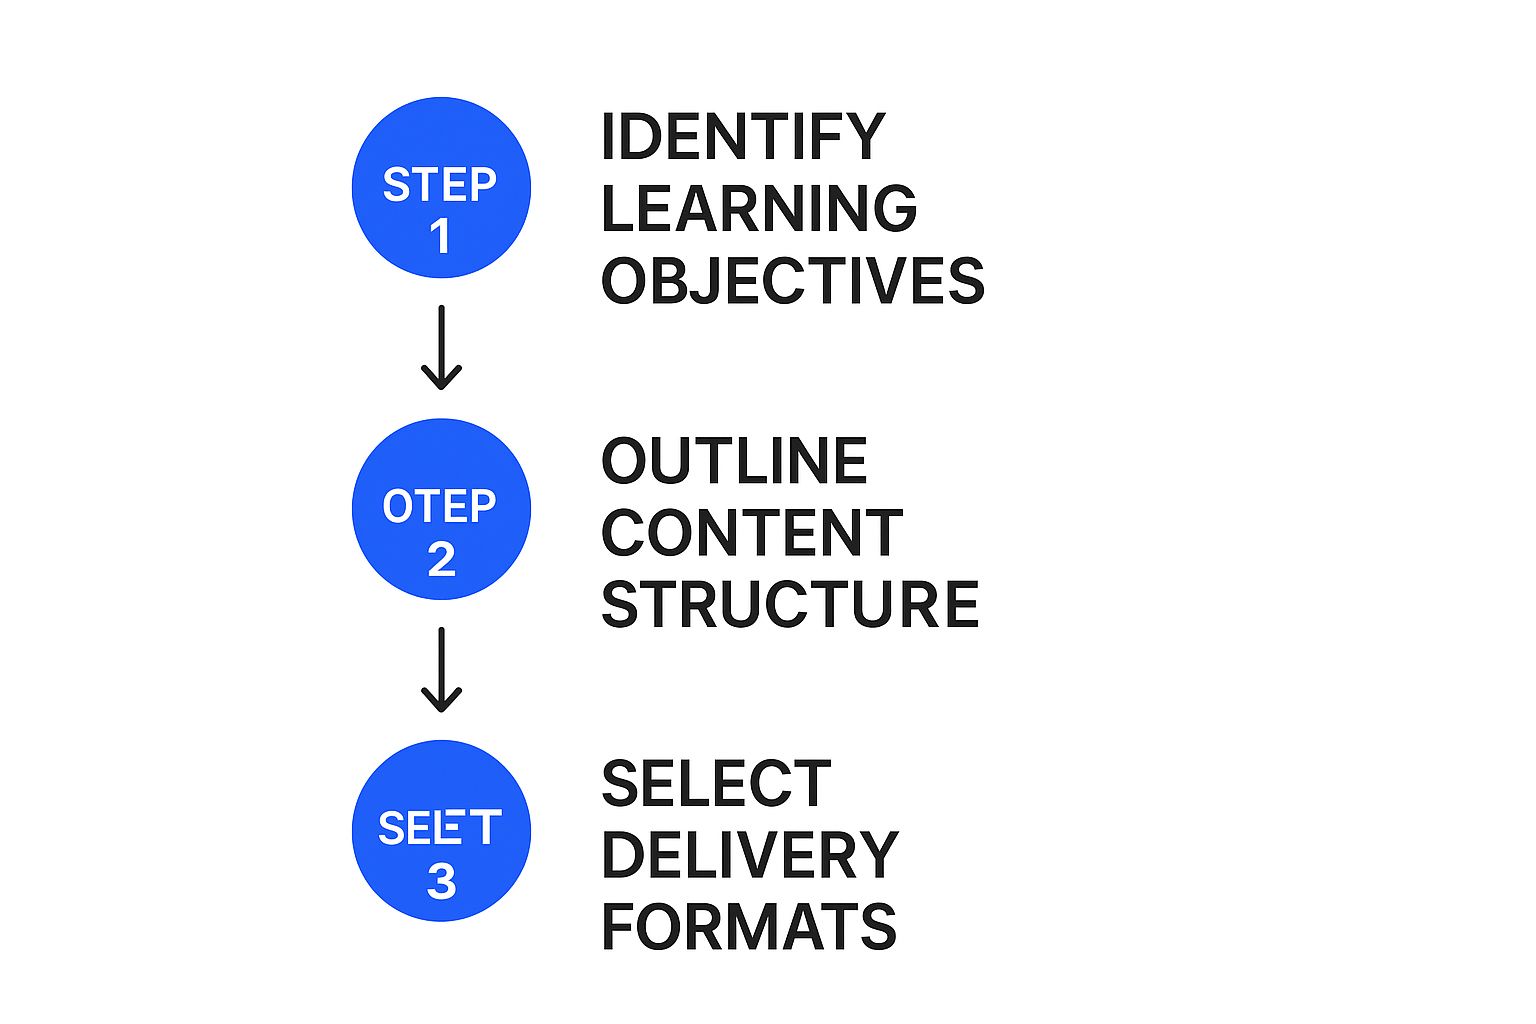
This planning process forces you to get specific and think from the learner’s perspective. Here’s what that looks like in practice:
- Set crystal-clear learning objectives: What, exactly, should someone be able to do after this training? A vague goal like “understand the new software” is useless. A better one is, “Use the software to generate a quarterly sales report in under 5 minutes.”
- Really analyze your audience: Who are you training? Think about their current knowledge, their comfort level with technology, and how they prefer to learn.
- Pick the right format: Video isn’t always the answer. Some topics are better served by a quick-reference guide, an in-depth job aid, or an interactive quiz.
The numbers back up this investment. According to Technavio’s market research, the global corporate training market is projected to grow by USD 43.86 billion between 2025 and 2029, driven largely by the move toward cost-effective e-learning. High-performing companies are 59% more likely to foster a strong learning culture.
Strategize your content for maximum impact
Fantastic training material doesn’t just happen; it’s the result of a solid plan. Before you even think about hitting record or sketching out a design, you need to build a strategic foundation.
Think of it this way: a flawed strategy will undermine even the most beautifully produced video. But get the plan right, and every other step becomes exponentially easier.
Define sharp, measurable learning objectives
First things first, let’s get specific about your goals. “Learn the new CRM” is a wish, not an objective. A truly effective learning objective is something you can see, measure, and act on.
When I tested this with one of our enterprise customers training their sales team on lead management, we reframed their objective from “learn the system” to something concrete:
- Actionable: “After this training, a salesperson will be able to log a new lead, assign it to the correct pipeline, and schedule a follow-up task.”
- Measurable: “This entire process should take less than three minutes per lead.”
That level of clarity dictates your content. You now know exactly what skills to demonstrate and how to measure whether the training worked.
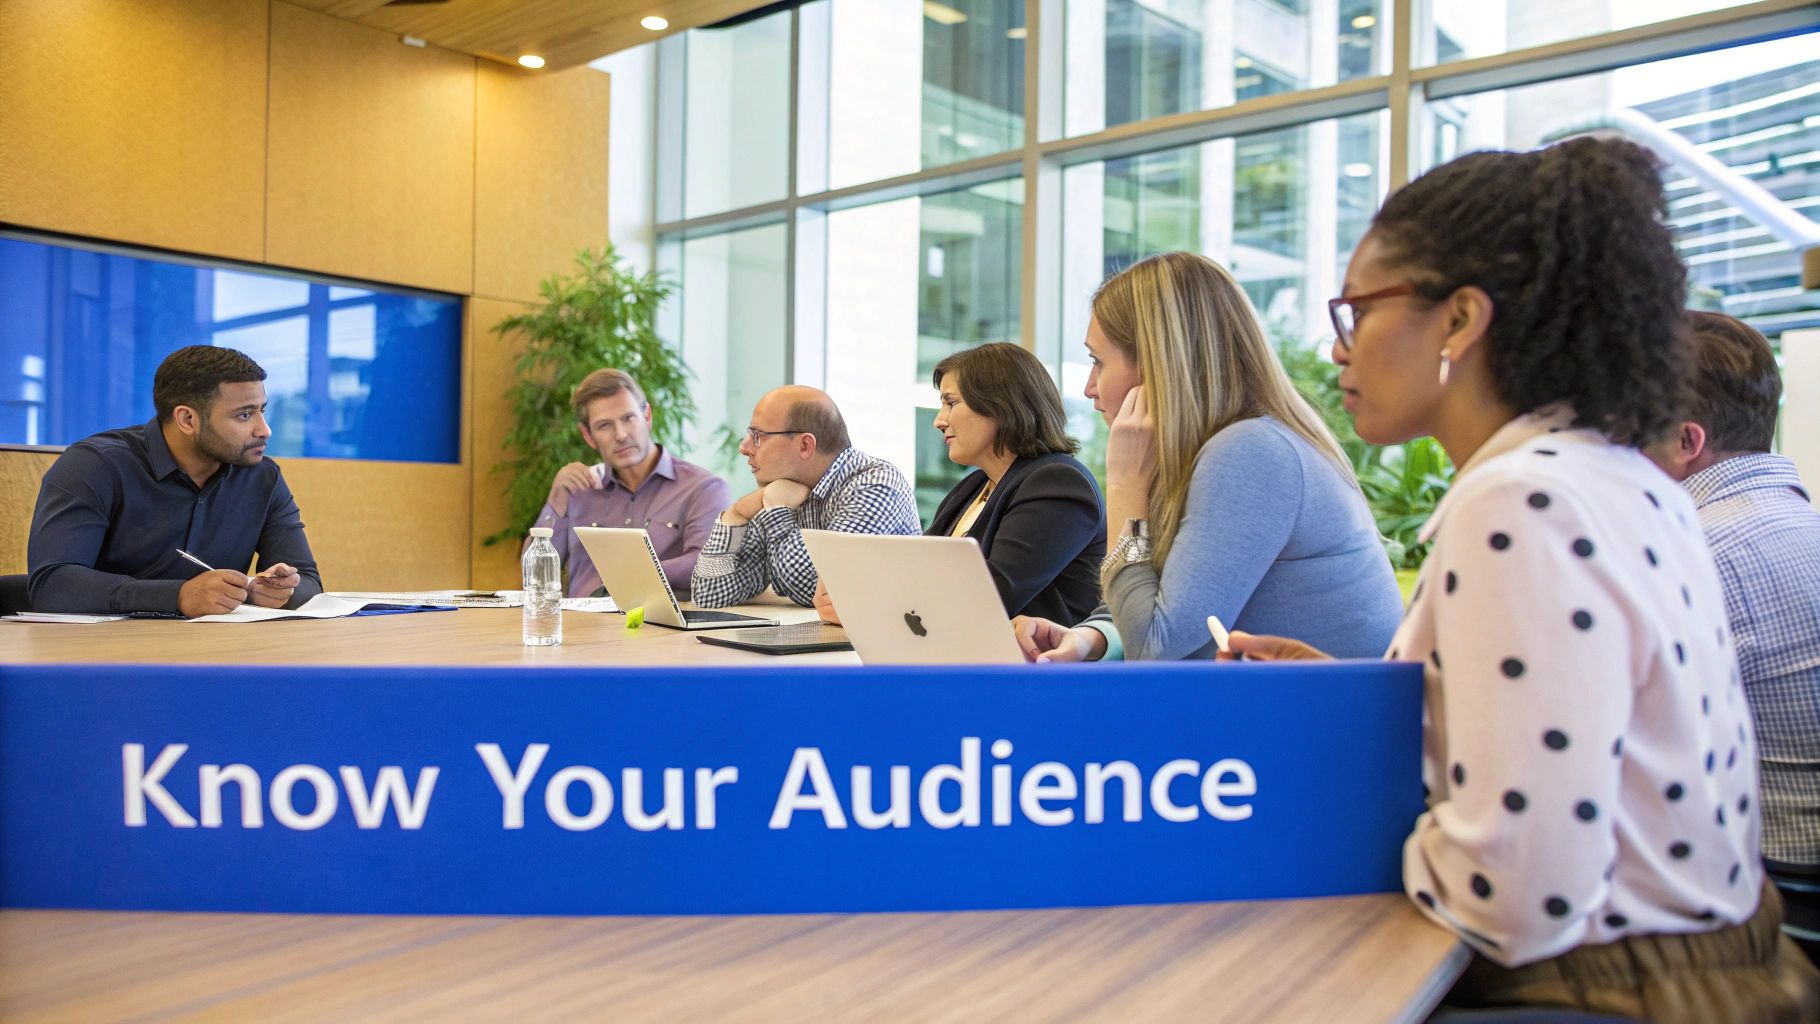
Truly understand your audience
You can’t create effective training in a vacuum. You have to know who you’re training, what they already know, and what’s standing in their way. At VideoQi, we’ve found that a mismatch with the audience is the number one reason training fails-the content ends up either painfully boring or hopelessly advanced.
To sidestep this, conduct a simple needs assessment. This doesn’t have to be a massive formal project. A few targeted conversations or a quick survey can give you incredible insight.
Try asking questions like:
- On a scale of 1-5, what’s your current comfort level with [the topic]?
- What are the biggest headaches you face when trying to [perform the task]?
- How do you like to learn new skills? (short videos, step-by-step guides, live sessions)
- What specific questions do you have about the upcoming changes?
This feedback ensures you’re solving a real problem instead of just pushing information into the void.
Structure your topic logically
Armed with clear objectives and audience insights, you can start outlining your content. From my experience, the best approach for complex topics is breaking them down into smaller, digestible modules. This respects your learners’ time and cognitive load. Research on multimedia learning principles shows that chunked content significantly improves retention.
For instance, a big topic like “New manager training” becomes much less intimidating when broken down:
- Module 1: Conducting effective one-on-ones
- Module 2: Giving actionable feedback
- Module 3: Navigating difficult conversations
- Module 4: Approving time off and expenses
A modular structure lets people focus on one skill at a time or jump right to the content they need. Consider using AI tools for educators to help you brainstorm and structure content more efficiently.
Match format to the task
Not everything needs to be a long-form video. Here’s how I think about format selection:
For quick process refreshers, a one-page PDF job aid works best-it’s instantly accessible and easy to print. For complex decision-making, interactive branching videos let learners practice choices in a safe environment. Software walkthroughs call for screen-recorded tutorials showing exact steps in the actual interface. And for concept introductions, short animated explainer videos make abstract ideas memorable.
In a global corporate training market worth $391.1 billion, this kind of strategic thinking is what separates training that works from training that gets ignored.
Design and script an engaging learning experience
Once your strategy is set, you get to dive into the fun part: actually creating the training materials. This is where you take all that groundwork-your objectives and audience analysis-and shape it into a genuine learning experience.
Think of this phase as a blend of art and science. You’re scripting content that needs to sound natural, designing visuals that clarify complex ideas, and structuring everything into a journey that feels intuitive.
Write scripts for the ear, not the eye
The script is the foundation of any great training video. A classic mistake I see constantly is writing scripts that read like formal documents. For video, you have to write for the ear.
It’s about conversation, not lecture. Keep your language simple, your sentences crisp, and aim for a tone you’d use explaining something to a colleague over coffee.
Three tricks that work:
- Read it out loud. This is the ultimate test. If it feels awkward to say, it will sound worse on video. Rework clunky phrases until they flow naturally.
- Use contractions. “Don’t,” “it’s,” and “you’ll” are your friends. They instantly make delivery feel less robotic.
- Speak directly to the learner. Use “you” and “your” liberally. It creates a powerful one-on-one feeling.
Use stories to make lessons stick
Even the most technical topics become memorable when framed with a story. We’re hardwired for narratives; it’s how we make sense of the world. So don’t just list facts-put them into relatable scenarios.
Instead of outlining steps for handling a customer complaint, try: “Imagine Sarah calls in. She’s upset because her order is late. Your first move isn’t to ask for the order number; it’s to acknowledge her frustration.”
This simple shift makes the lesson stick. It turns abstract rules into practical actions people can recall under pressure. Research from Stanford’s Graduate School of Business shows that stories are up to 22 times more memorable than facts alone.
Keep visuals clean and purposeful
When it comes to the visual side of your training, clarity is everything. The purpose of design isn’t to be flashy; it’s to support learning. Overly busy graphics, distracting animations, or cluttered screens actively sabotage your efforts.
Stick to a clean, consistent look that reflects your company’s brand. Every visual element-from text overlays to icons-should serve a purpose. Always ask yourself: “Does this make the core message easier to understand?” If not, cut it.
Don’t forget soft skills
Technical know-how is only one piece of the puzzle. The market for soft skills training is massive-valued at USD 163.58 billion in 2023 according to SkyQuest’s analysis-and growing fast.
The good news: you can weave soft skills into almost any topic. In software training, include a module on communicating technical issues clearly to IT. In sales process training, emphasize active listening when speaking with prospects. In project management training, add lessons on delivering constructive feedback.
Storyboard your interactive journey
For interactive video, a storyboard is your must-have blueprint. This is where you map out the entire learning path, scene by scene, choice by choice. Check out our guide on how to create interactive video for detailed examples.
A good storyboard details:
- Scenes: What will the learner see on screen?
- Narration: What audio or script accompanies the visuals?
- Interactions: Where does the learner need to act?
- Pathways: What is the consequence of each choice?
This level of planning is what makes an interactive experience feel seamless and coherent.
Produce your interactive video training

This is where the rubber meets the road. All your careful planning now comes to life as you turn those ideas into real training assets. The word “production” can sound daunting, but you don’t need a Hollywood budget to create something effective.
With a few smart choices and the right tools, you can produce professional-grade content right from your desk. The real magic happens when you focus on what matters to the learner-clear audio, good lighting, and meaningful interaction.
Setting up your recording space
You can capture high-quality footage without breaking the bank. Your main goal is a clean, distraction-free environment that keeps focus on your content. The two most critical elements are lighting and audio.
Bad audio is a deal-breaker. One of the best investments you can make is an external USB microphone; it delivers sound leagues better than your computer’s built-in mic. Record in a quiet room with soft surfaces like carpets or curtains to absorb echo.
For lighting, the easiest trick is facing a window for natural light. If that’s not an option, a simple ring light placed behind your camera lights your face evenly and eliminates harsh shadows.
Recording or uploading your footage
Once your space is ready, it’s time to hit record. With VideoQi, you have two paths: record directly within the tool or upload video you’ve already shot.
- Direct recording: Perfect for software walkthroughs or presentations. You can record your screen, webcam, or both simultaneously.
- Uploading footage: If you used a separate camera for a higher-end shoot or created custom animations, you can upload those files and mix content from different sources.
Whichever way you go, stick to your script but sound natural. It’s always better to do extra takes-it’s far easier to edit out a mistake than fix a bad recording later.
Embedding meaningful interactivity
This step truly separates passive viewing from active learning. Just showing a video is the old way. Modern training invites the learner to participate. Using VideoQi, you can weave interactive elements directly into your video’s timeline.
The key is that interactivity isn’t about adding flashy gimmicks. Every interaction should serve a specific learning goal, turning the viewer from a passive passenger into the driver of their own experience.
Clickable buttons and hotspots
Place clickable areas over specific objects in your video. When a learner clicks one, it triggers an action. For a product demo, you could place a hotspot over a new feature. Clicking it could open a pop-up with more details, link to a downloadable guide, or jump to a section explaining that feature in depth.
In-video quizzes
Instead of saving all knowledge checks for a quiz at the end, embed them right into the video. Pause the video after explaining a key concept and pop up a question. This creates immediate feedback that helps information stick. After explaining a safety protocol, you might ask: “What is the first step you should take in this situation?”
Branching scenarios
Our customers report that branching scenarios are especially effective for teaching decision-making and soft skills. You create “choose your own adventure” style videos where the story changes based on learner choices.
For customer service training, show a video of an upset customer. The video pauses, and the learner gets three response options. Choice A leads to the customer calming down. Choice B makes things worse. Choice C results in a neutral outcome. Learners see and feel the consequences of their decisions in a safe environment. For more on this, see this complete guide on training videos.
Polishing your final video
The last leg of production is adding final polish. Trim awkward silence from the beginning and end of clips, add quiet background music to set the tone, and apply your company’s logo and branding consistently. Create a seamless, professional experience that reflects your organization’s quality.
Distribute and measure your training’s success

Creating brilliant training materials is a massive accomplishment, but the work isn’t over yet. The final phase is getting your content to the right people and proving it made a difference. This is where your investment pays off, transforming production effort into tangible business results.
Getting your training into their hands
Once your interactive video is polished and ready, you have a few options for sharing it. The right method depends on your company’s existing tools and how employees typically find information.
One simple method is generating a shareable link. This works well for quick rollouts or dropping into emails, Slack, or project management boards. For a more seamless experience, you can embed the training video directly into your intranet, knowledge base like Confluence, or Learning Management System. Embedding keeps learning within a familiar environment, which in my experience almost always improves completion rates.
Planning a successful launch
A smooth rollout requires more than just firing off a link. A little thoughtful planning dramatically increases engagement. Many of the same principles from webinar marketing strategies apply here.
For a successful launch:
- Announce it clearly: Let your team know what the training is, why it’s important, and what they’ll get out of it. A simple email or company-wide post can build anticipation.
- Run a pilot test: Before a full launch, share the training with a small group. Ask for honest feedback to catch confusing instructions, technical glitches, or typos before everyone sees them.
Don’t skip the pilot phase. It’s invaluable for ironing out kinks before the broader rollout.
Measuring what truly matters
This is where interactive video really shines. Unlike traditional content where you’re guessing at engagement, every click and choice a learner makes provides a valuable data point. This isn’t just about tracking views; it’s about understanding how they engaged.
Focus on metrics that give you a clear picture of effectiveness:
- Completion rates: Who started the training, and who finished? A steep drop-off signals content that’s too long, difficult, or not engaging enough.
- Engagement metrics: Where are people clicking? Which interactive elements get used most? This shows what parts of your training resonate.
- Quiz and assessment scores: This is your most direct measure of knowledge acquisition. High scores tell you training was effective. Poor performance on specific questions pinpoints where content needs clarification.
By analyzing this data, you can confidently report on success. You can show leadership exactly how the program improved skills, closed knowledge gaps, and contributed to business goals.
Common questions about creating training materials
Even with careful planning, questions come up. Here are answers to what I hear most often from our customers.
How long should a training video be?
There’s no perfect length, but my guiding principle is: as long as it needs to be, but as short as possible. In a world of shrinking attention spans, brevity is your friend.
From our data at VideoQi, the sweet spot for a single, focused instructional video is between 3 and 7 minutes. If your topic needs more time, break it into a series of bite-sized videos rather than creating a 30-minute epic. This respects learners’ time and makes information easier to absorb and find later.
For more guidance, see our article on how to create educational videos.
Stick to the “one-skill, one-video” rule. Each video should teach one specific, actionable concept.
What’s the best way to measure training effectiveness?
Simply tracking views is a vanity metric. To know if training is working, you have to see if knowledge is sticking and behavior is changing.
Blend different data points:
- Knowledge checks: Embed quizzes right inside your video. If everyone bombs a question about a specific step, you know exactly which part needs to be clearer.
- Behavioral observation: Are people actually doing what you taught them? Managers can provide feedback, or look at performance data to see if new skills are being applied.
- Business impact: Did training move a key business metric? Think reduced support tickets, faster onboarding, or higher conversions.
When you tie training to tangible business results, you’ve proven its true value.
Do I need professional equipment?
Nope. While professional gear is nice, it’s not required. You can get surprisingly high-quality results with equipment you already have.
The two things you cannot compromise on are clear audio and good lighting. Your smartphone camera is likely capable of shooting great video, but its built-in mic often picks up echo and background noise. A simple USB or lavalier mic makes a massive difference.
For lighting, natural light from a window is hard to beat. If that’s not an option, a basic ring light works wonders. People will forgive video that isn’t perfectly cinematic, but they’ll click away if they can’t hear you clearly. Prioritize audio first.
Ready to turn your passive videos into active learning experiences? With VideoQi, you can easily add quizzes, branching scenarios, and clickable hotspots to keep your audience engaged and measure what’s actually working. No coding required. Start building smarter training materials today by visiting https://videoqi.com.


