
Build the ultimate customer onboarding checklist for 2025. Explore 7 essential steps, from welcome emails to training, to boost retention and success.
Getting customer acquisition right is only half the story. The real challenge? Turning those new signups into loyal users who stick around. That journey starts with onboarding.
At VideoQi, we’ve seen firsthand how a thoughtful onboarding process can make or break customer retention. When I tested different approaches with our early customers, the results were clear: personalized, interactive onboarding outperformed generic sequences every time.
According to Wyzowl’s 2024 research, 86% of customers say they’d be more likely to stay loyal to a company that invests in onboarding content. And Userpilot found that effective onboarding can improve customer retention by up to 50%.
This guide covers seven critical onboarding stages that actually work. I’ll share what we’ve learned from helping hundreds of companies transform their onboarding, including specific techniques using interactive video that can accelerate time-to-value.
1. The welcome email: your first real conversation
That first email after signup matters more than most people think. It’s not just a confirmation; it’s your opening move in building a relationship.
Our customers report that personalized welcome emails see 2-3x higher click-through rates compared to generic templates. The difference isn’t just in using someone’s name. It’s about acknowledging why they signed up in the first place.
Here’s what actually works:
- Reference their stated goal. If they mentioned wanting to improve team collaboration during signup, say exactly that: “We’re excited to help you improve your team’s collaboration.”
- Tell them what’s coming. A simple roadmap reduces anxiety. “Over the next few days, we’ll send you short guides on setting up your first project and inviting teammates.”
- Give one clear action. Multiple CTAs create decision paralysis. Pick the single action that delivers the quickest value.
The best welcome emails also establish connection through effective email marketing principles that set the right tone from the start.
Making welcome emails interactive
When I tested embedding personalized video welcomes instead of plain-text CTAs, activation rates jumped significantly. A short video where someone greets the customer by name and walks them through their first step feels completely different from reading another automated email.
With VideoQi, you can add clickable buttons directly in the video that take users straight to their dashboard, or embed forms for profile completion right in the player. It transforms a static email into something people actually engage with.
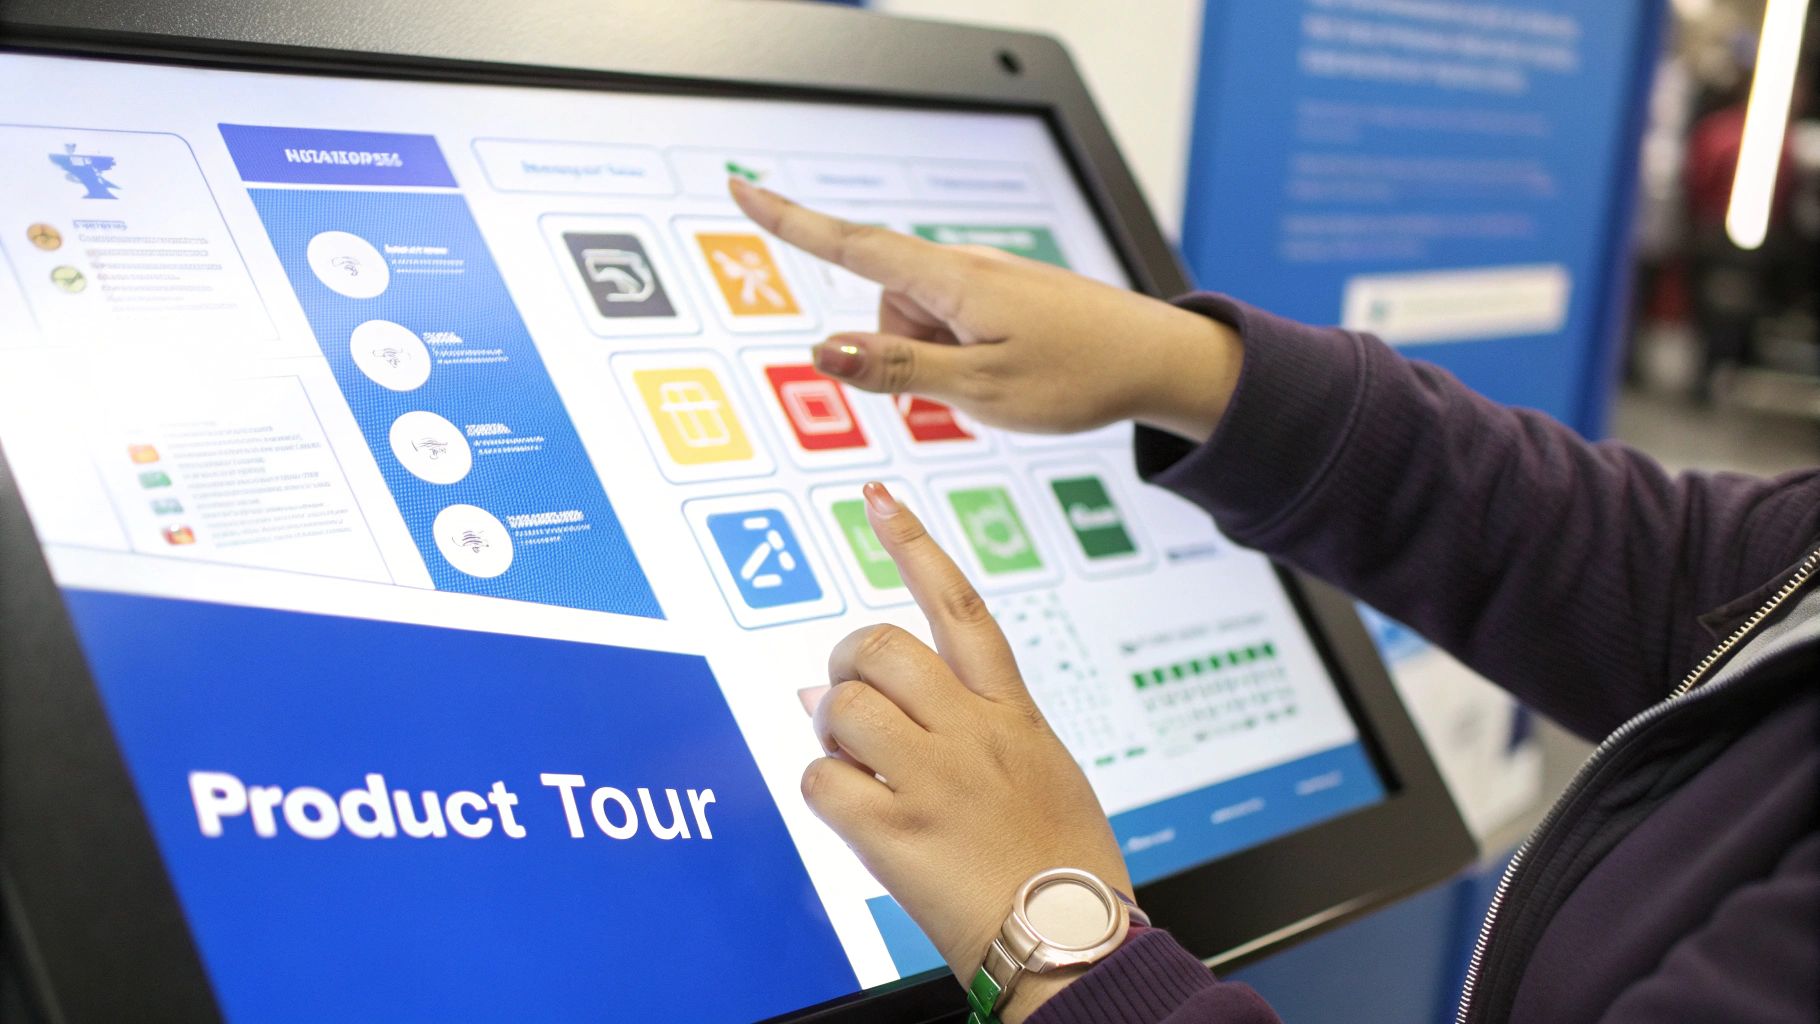
2. Product tours that don’t bore people to death
After the welcome, users need to find value fast. But here’s where most companies go wrong: they try to show everything at once.
A product tour should help someone reach their first “aha moment” as quickly as possible. That means ignoring most features and focusing ruthlessly on the 3-5 things that matter most.
What we’ve found works:
- Focus on jobs to be done. For a project management tool, guide users through creating their first task. Skip the notification settings entirely.
- Make it contextual. Trigger tips based on user actions or the goals they stated during signup. Generic tours feel generic.
- Celebrate progress. Small success messages when someone completes a key step encourage them to keep going.
One thing I always recommend: let users skip or replay the tour. Forcing an unskippable tutorial frustrates experienced users, while making tours accessible from a help menu lets people learn at their own pace.
Video-enhanced product tours
Instead of relying solely on tooltips, try embedding short, context-sensitive videos that demonstrate features right when users need them. When someone lands on a dashboard for the first time, a brief video overlay from a real person explaining the layout feels more helpful than another popup.
You can also include interactive checklists within the video, letting users tick off tasks as they complete them. This turns onboarding into something satisfying rather than tedious.
3. Collecting information without creating roadblocks
You need to understand who your users are and what they want to achieve. But here’s the balance: gather too much upfront and people abandon the process. Gather too little and you can’t personalize anything.
This approach to gathering customer data is one of the core customer onboarding best practices we recommend.
Here’s what we’ve learned:
- Ask incrementally. Get the minimum at signup, then prompt for more information contextually. Ask about team size only when they go to invite a colleague.
- Explain why you’re asking. “Tell us your primary goal so we can customize your dashboard” makes the question feel helpful rather than intrusive.
- Use conditional logic. If someone identifies as a marketer, show marketing-related questions. Skip the developer stuff.
- Make it optional. Let users skip non-critical questions and complete their profile later.
Frame questions around outcomes rather than demographics. Instead of “What is your industry?” try “What’s the main outcome you want to achieve with our product?”
Making data collection feel like a conversation
We’ve seen completion rates increase substantially when companies use interactive video surveys instead of standard forms. A friendly host guiding users through key questions, with in-video buttons and response options, feels less like filling out paperwork and more like having a conversation.
4. Integrations: where products become indispensable
A product that works in isolation creates friction. Connecting your tool with a customer’s existing tech stack is what transforms it from “another app to check” to “can’t live without it.”
Strong marketing automation integration capabilities can be the deciding factor for retaining B2B clients.
Here’s how to approach this:
- Prioritize the big ones. Focus on the top 3-5 tools your ideal customers use daily. CRMs, project management software, communication platforms.
- Provide step-by-step guidance. Clear instructions with in-app prompts, tooltips, and help docs. “Step 1: Connect your Google Calendar to sync meetings automatically.”
- Offer pre-built templates. Ready-to-use workflow templates remove guesswork and show immediate benefits.
Try framing integrations as “unlocking” capabilities rather than just “connecting” software. “Unlock automated lead syncing by connecting with your Salesforce account” sounds more compelling than “Connect to Salesforce.”
Video-guided integration setup
Instead of pointing users to knowledge-base articles, create short videos that visually walk them through connecting popular tools. You can use clickable hotspots to highlight exactly where they need to click, and embed a checklist directly in the video player so users can track their progress as they complete each step.
5. When to bring in a dedicated success manager
For high-value or complex accounts, automated sequences aren’t enough. A dedicated Customer Success Manager transforms the relationship from transactional to strategic.
This model, popularized by companies like Salesforce and Gainsight, works because it creates accountability. The CSM owns the customer’s success, which means they’re motivated to ensure adoption actually happens.

What makes CSM programs effective:
- Match expertise to customer needs. Healthcare customers should work with CSMs who understand compliance and workflow challenges specific to that industry.
- Establish communication preferences early. Weekly check-ins? Bi-weekly? Slack channel or email? Define this upfront.
- Set mutual success criteria. Collaborate with the customer on clear, measurable goals and timelines. Document milestones and review progress together.
- Give CSMs authority to solve problems. Nothing kills momentum like having to escalate every issue.
Document every key interaction, decision, and milestone in your CRM. This creates valuable context for anyone who interacts with the customer later.
The video introduction that sets the tone
The initial CSM introduction is pivotal. Instead of a standard email, try a personalized video where the CSM greets the customer by name, mentions their company, and references specific goals from the sales conversation. They can highlight the first areas of the platform they’ll tackle together and embed a calendar link directly in the video for booking the kickoff call.
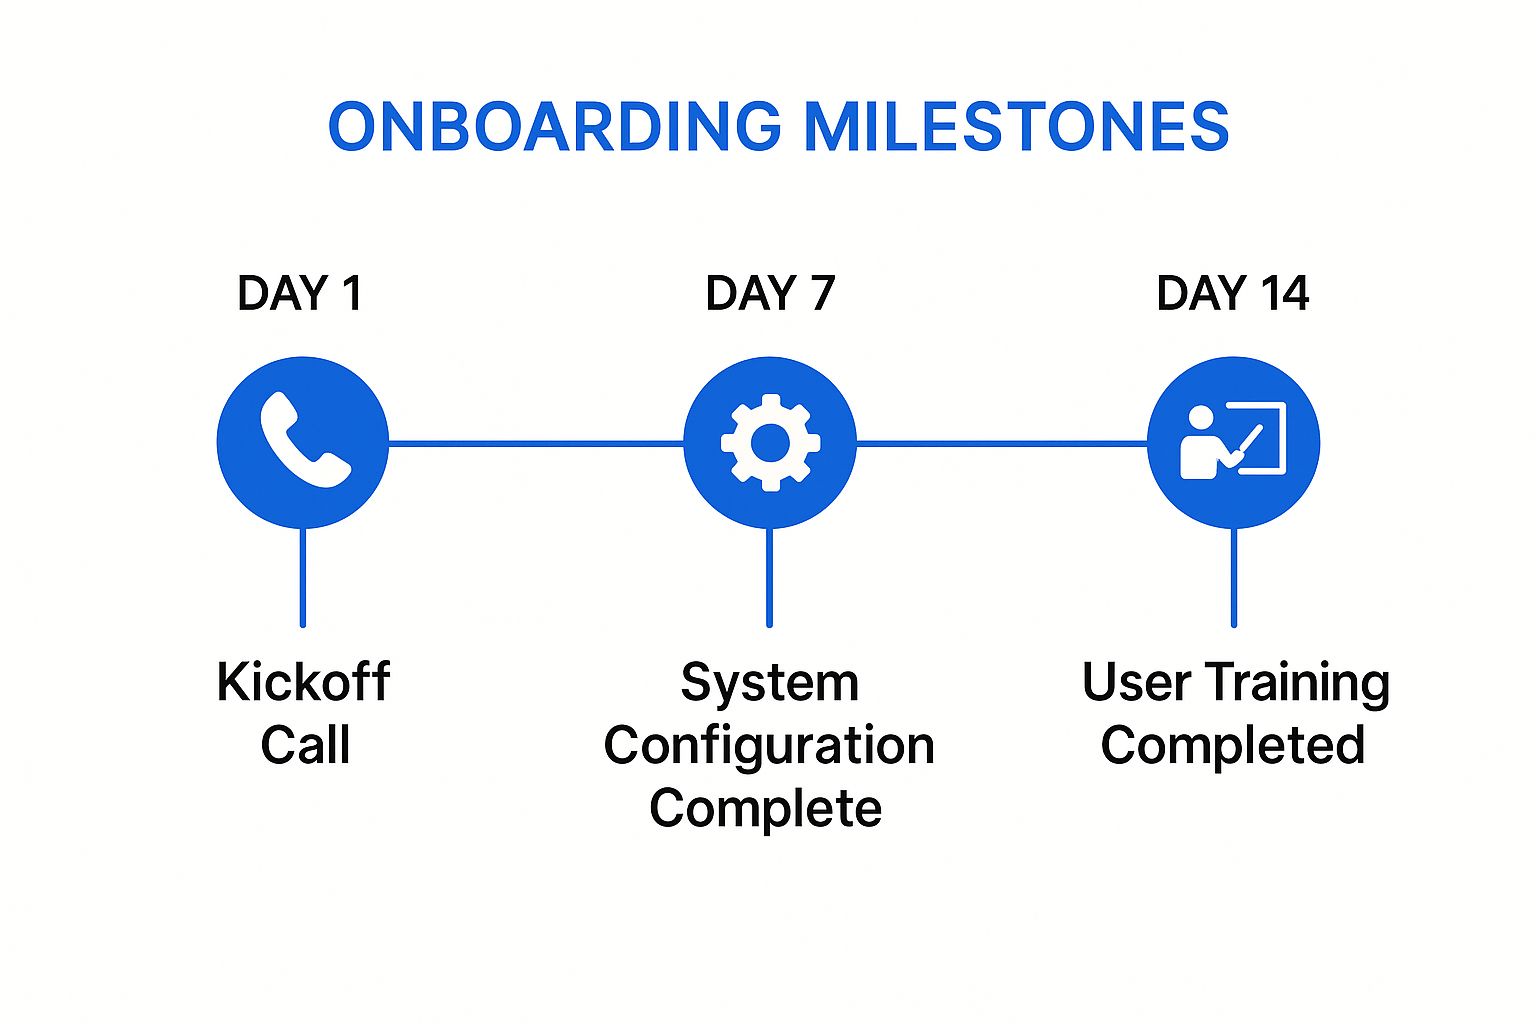
6. Building implementation timelines that actually work
For complex products or enterprise clients, you need a detailed roadmap. This isn’t just project management. It’s about setting clear expectations and creating mutual accountability.
Here’s what matters:
- Define who does what. Clearly outline customer responsibilities: providing data, attending training, completing technical setup. Shared ownership prevents finger-pointing later.
- Schedule milestone check-ins. Don’t just set a final deadline. Regular reviews at critical points catch problems early.
- Build in buffer time. Ambitious timelines often fail. A 20-30% buffer accounts for the inevitable delays.
Use a shared project management tool like Asana, Trello, or even a simple spreadsheet. Complete transparency into progress and dependencies keeps everyone aligned.
Video milestone updates
After completing a major milestone like system configuration, send a short video summary instead of just an email notification. The implementation specialist can showcase the customer’s configured dashboard and include interactive buttons linking to knowledge base articles or scheduling the next training session.
7. Training that builds real competency
Initial onboarding gets users started. Training makes them experts. There’s a reason platforms like Salesforce Trailhead and HubSpot Academy have invested so heavily in education. It works.
For strategies on building effective educational content, see our guide on how to create training materials.
What we’ve found effective:
- Create role-specific tracks. Marketing managers need different training than sales reps. Develop separate workshops for key user personas.
- Offer multiple formats. Live webinars for interactive Q&A, pre-recorded sessions for on-demand learning, one-on-one coaching for high-value accounts.
- Use hands-on exercises. Theory is fine, but practice sticks. Structure sessions around practical exercises using real data or realistic sandbox environments.
Always record live sessions. This creates valuable on-demand content for new hires, people who couldn’t attend, or anyone needing a refresher.
Interactive training modules
Transform long training recordings into engaging, self-paced modules by breaking them into shorter interactive video chapters. Embed quizzes after each section to test comprehension, add clickable links to supplementary resources, and insert polls for feedback. You can even create branching paths where answers determine which content users see next, keeping everything relevant to their skill level.
Putting it all together
These seven steps form the foundation of effective customer onboarding. But the real impact comes from execution and the experience you create at each touchpoint.
What I’ve seen consistently across our customers:
- Personalization compounds. Each tailored interaction builds on the last, creating momentum that generic sequences can’t match.
- Engagement beats passive content. Interactive elements turn learning from something users endure into something they actively participate in.
- Consistency builds trust. A structured process ensures every customer gets the same quality experience, reinforcing their decision to choose you.
Your onboarding process reflects your company’s commitment to customer success. It’s your first and perhaps most important chance to prove you’re invested in their outcomes. Get this right, and you’re not just activating users. You’re building the foundation for retention, loyalty, and growth.
Want to see how interactive video can transform your onboarding? VideoQi helps you create personalized welcome messages, interactive tutorials, and in-video quizzes that accelerate user success.


